
How to use a limiter on vocals is simple: catch only the last one or two dB of unpredictable peaks after clip gain and compression have already done the real leveling. Put it near the end of the vocal bus, set a safe ceiling, lower the threshold until only the loudest consonants trigger it, and stop before the voice loses punch or starts spitting.
Disclosure: Rys Up Audio makes RysUpLimiter. This guide explains a conservative vocal workflow that works with any limiter. Product details and shipping files were checked September 4, 2026.
The fast answer: set Ceiling to preserve the vocal bus's intended post limiter peak level, then start with True Peak active, Clean character, Recovery near its neutral setting, and Level Match active for the comparison. Lower Threshold until the loudest words show about one or two dB of gain reduction. If the limiter stays active through the whole phrase, fix clip gain or compression first.
Know the one job the limiter should do
A vocal limiter is a final peak guard. It catches a word, consonant, or stacked harmony that jumps above the level established by editing and compression. It is not the first tool for an uneven performance.
Clip gain handles phrase balance. Compression shapes the movement across words. A limiter catches what still escapes. When those jobs stay separate, the vocal can feel solid without sounding flattened.
For a closer look at that division of work, use the compressor and limiter comparison to decide which stage your recording actually needs.
Use the limiter on an individual lead when that recording has occasional sharp peaks. Use it on a vocal bus when several layers combine into brief overloads. Do not place one on every track by habit. Each stage should solve a problem you can hear or measure.
Fix the vocal before limiting it
Play the loudest section and inspect the waveform. Pull down words that are several dB louder than the rest with clip gain. Remove obvious plosives and edit mouth noise. Then use a compressor for the general performance shape.
If the limiter needs six dB of reduction to hold the lead in place, the threshold is not the real problem. The source still needs leveling. Heavy final limiting can push breaths, S sounds, room tone, and headphone bleed forward while the musical center of the word gets smaller.
The vocal leveling workflow handles large phrase moves. The vocal compression guide handles ongoing dynamics. Finish those jobs before asking a limiter to catch the last peaks.
Use conservative limiter settings for vocals
| Control | Starting point | What to hear | Warning sign |
|---|---|---|---|
| Ceiling | Match the intended bus peak | Output stays in the same gain staging range | The vocal jumps toward full scale |
| Threshold | Lower for one to two dB of reduction | Peaks stay controlled | Constant gain reduction |
| Recovery | Neutral first | Gain returns between phrases | Pumping or dull word endings |
| Character | Clean | No added edge during setup | Brightness mistaken for clarity |
| True Peak | Active for exports | Better peak safety | Trusting sample peaks alone |
| Level Match | Active while judging | Tone comparison at similar loudness | Louder always wins |
These are starting points, not a promise that every vocal needs the same ceiling or amount of reduction. The International Telecommunication Union defines true peak measurement in BS.1770. European Broadcasting Union guidance uses a minus 1 dB true peak limit for complete programme delivery, not for every isolated vocal bus. Preserve the vocal's intended gain staging here. Use a delivery ceiling only on a full rough mix or master when that is the actual export target.
Place the limiter near the end of the vocal bus
Clip gain and cleanup
EQ and compression
De essing and resonance
Limiter for final peaks
Reverb and delay returns
A clean starting order is clip gain, subtractive EQ, compression, de essing, tone, then limiting. Time effects normally live on sends, so the limiter does not crush the reverb tail every time the lead gets loud.
The exact order can move when a specific problem demands it. If an air boost creates sharp S sounds, fix that before the limiter. If saturation creates new peaks, place the limiter after saturation. The rule is simple: catch the peaks after the stages that create them.
Use the vocal chain order guide for the full signal path and keep this page focused on the final peak decision.
Lower threshold until only the peaks move
Loop eight bars with a quiet phrase, a loud phrase, one hard consonant, and one sustained note. Start with no reduction. Lower Threshold until the loudest moment shows one dB of gain reduction. Keep moving until the unstable peak stops jumping from the mix.
Now watch what happens after the peak. The reduction should release before the next important word. If the meter stays pinned, raise the threshold or speed up Recovery slightly. If the level snaps back and makes the room noise breathe, slow Recovery or repair the source.
Do not chase a perfectly flat meter. A vocal needs movement to sound like a person. The limiter should remove the surprise, not the performance.
Protect consonants and breath detail
Fast vocal peaks often come from P, T, K, and S sounds. A limiter can stop the numeric peak while making the consonant harder and more obvious. Listen to the front of each word, not only the gain reduction number.
If S sounds spit, reduce the sibilance before the limiter. If plosives trigger several dB of reduction, repair or clip gain those events. If breaths leap forward after limiting, edit or automate them before the dynamics chain.
Level matching matters here. A louder limited pass may seem more detailed for ten seconds. Reduce the monitoring level until the active and bypassed versions feel equally loud, then decide whether the words are actually clearer.
Choose the lead track or the vocal bus
Place the limiter on the lead track when one recording has a few isolated peaks and the background layers are already controlled. Place it on the vocal bus when the combined stack creates brief peaks that no individual track shows alone.
Do not use both without a clear reason. Two light stages can work, but they make diagnosis harder. Start with the bus because it shows the real sum. Move to the lead only when one source is causing the overload.
Keep reverb and delay returns outside the limited dry bus unless you intentionally want their tails pulled down with the vocal. Separate returns usually preserve depth and make the peak guard easier to judge.
Separate quiet detail versus peak control before increasing Lift or driving the limiter harder.
Run the workflow in RysUpLimiter
RysUpLimiter gives the main decision to Threshold, Ceiling, Recovery, Character, Precision, True Peak, Stereo Hold, and Level Match. Start in Clean character with the highest Precision your session can run comfortably, then enable True Peak for the export check.
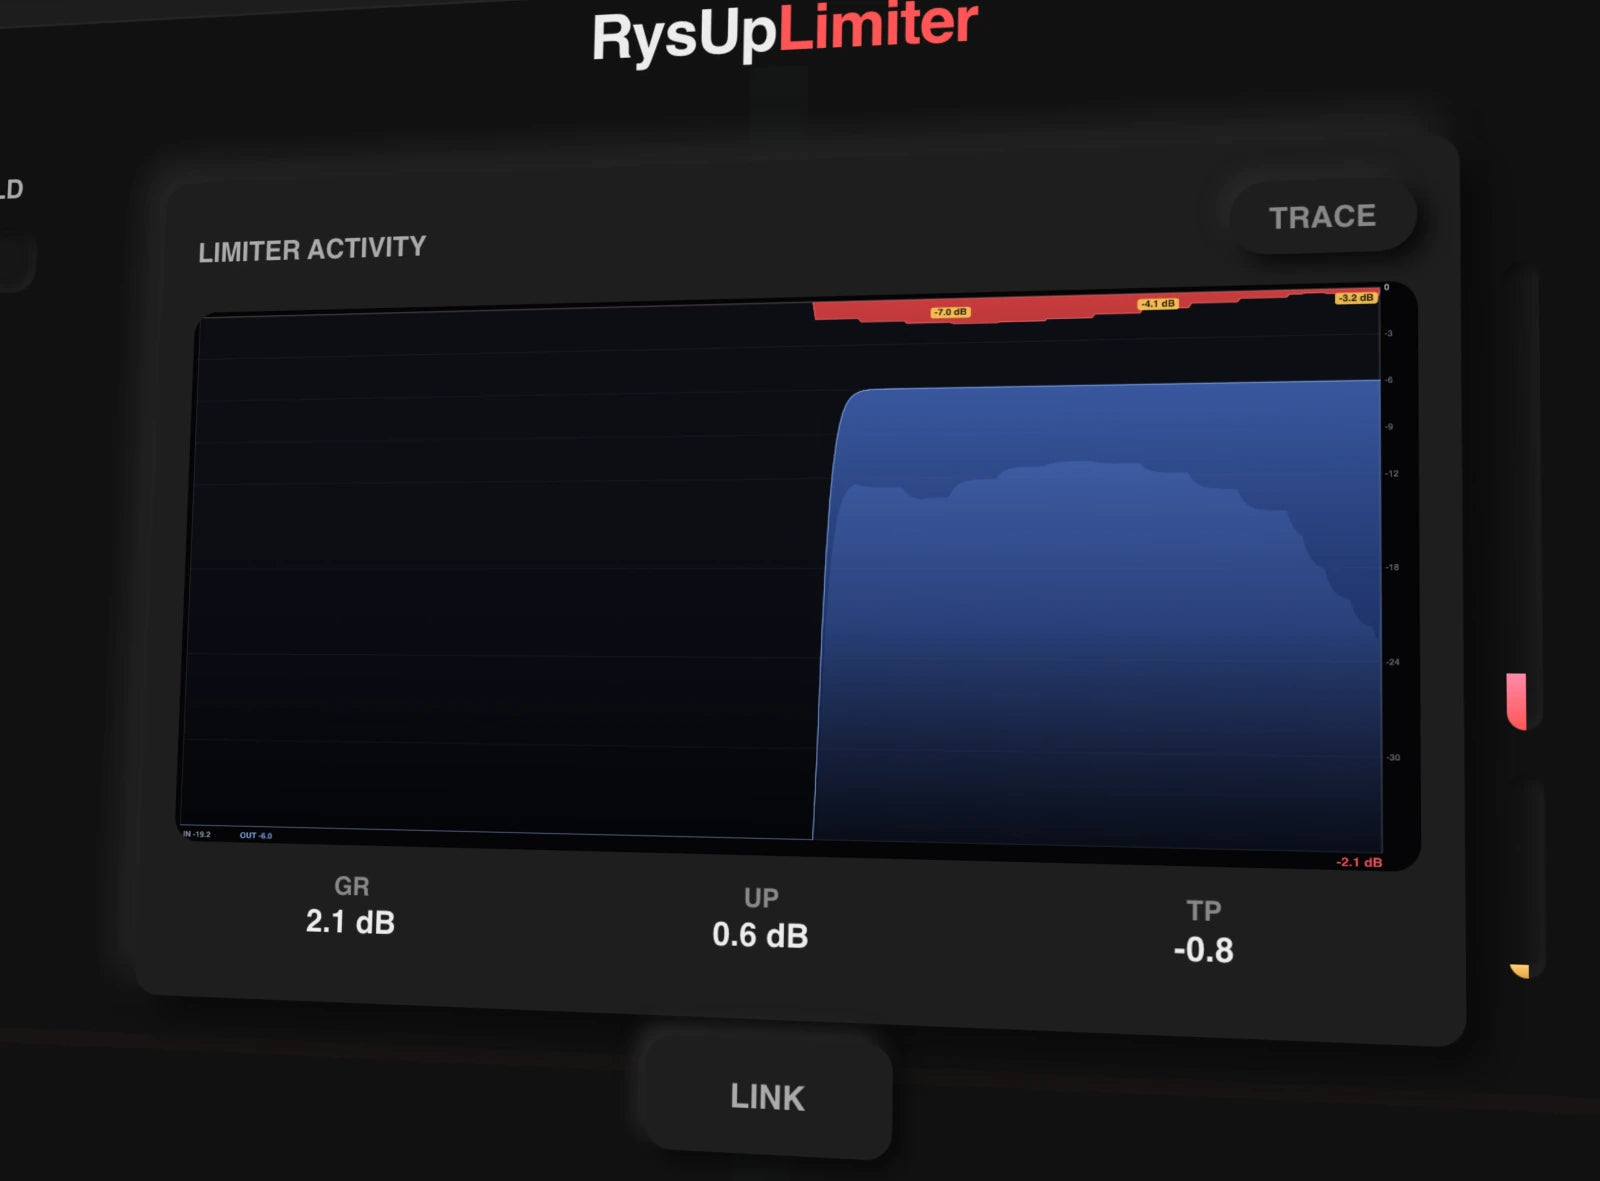
The current release is version 2.0.0. It costs $49.99 outright and ships for macOS and Windows through RysUpHub. Current format coverage is AU, VST3, and AAX on macOS plus VST3 and AAX on Windows. Product details and shipping files were checked September 30, 2026.
Use Audition to hear what the limiter removes. If the auditioned signal contains whole words instead of brief peaks, the limiter is doing too much. Use Level Match before every final decision so loudness does not grade its own test.
Run one repeatable vocal limiter test
- Choose eight bars with quiet and loud phrases.
- Clip gain any event that is several dB above its neighbors.
- Set Ceiling to the intended matched vocal bus output level and enable True Peak.
- Lower Threshold until only the loudest peaks show one or two dB of reduction.
- Match loudness and compare the active and bypassed passes.
- Check hard consonants, breaths, word endings, and stereo effects.
- Export at the session's native sample rate and inspect the rendered peak again.
Keep the limiter only if the vocal stays in place without losing impact. Save the chain as a starting template, but reset Threshold for every singer and every recording level.
Skip limiting when it hides the real problem
Skip it when the performance is wildly uneven, the room noise is obvious, the compressor is already working hard, or sibilance dominates the loudest peaks. The limiter will make those problems smaller on a meter and larger in the sound.
Also skip it when the vocal already sits consistently and the final mix limiter catches the remaining peak safely. Another processor is not an achievement. Fewer stages are better when the result is already controlled.
Use a limiter when you can name the exact job: one consonant escapes, the harmony stack clips the bus, or the rough export needs a safer ceiling. A defined job creates a defined stopping point.
Fix the five common limiter mistakes
- Constant reduction: raise Threshold and level the source first.
- Spitty consonants: de ess and clip gain before limiting.
- Pumping word endings: adjust Recovery and reduce the amount.
- Wide stack shifts sideways: increase Stereo Hold and inspect each layer.
- Bypass sounds smaller: turn on Level Match before choosing.
These mistakes all come from using the limiter as a loudness button. Treat it as a peak catcher and the settings become easier.
Finish the chain without crushing the singer
Start with the problem, make the smallest move that fixes it, and compare at matched loudness. One or two dB of clean peak control can make a vocal bus easier to mix. Six dB of constant control usually means an earlier stage still needs work.
Sources checked September 4, 2026: RysUpLimiter product page, RysUpLimiter update feed, ITU BS.1770, and EBU R 128.
If the recorded take itself is already distorted, use our vocal clipping diagnosis first. A limiter controls later peaks but cannot reconstruct a damaged recording.