

Raise quieter detail
RysUpLimiter Lift
Control louder moments
RysUpComp
Downward compression turns down material above a threshold. Upward compression raises material below a threshold. Both reduce dynamic range, but they pull from opposite ends. That difference decides whether you control peaks or reveal quiet detail.
On vocals, downward compression is usually the first choice for phrases that jump out. Upward compression can bring up low level tails, texture, and sustain without pushing the loudest moments down first. It can also drag breaths, headphone bleed, and room noise straight into the spotlight.
Disclosure: Rys Up Audio makes RysUpLimiter and RysUpComp. This guide explains the jobs they can serve. It is not a claim that all dynamics processors use the same detector, timing, or transfer curve.
Upward vs downward compression at a glance
| Decision | Downward compression | Upward compression |
|---|---|---|
| What moves | Louder material is reduced | Quieter material is raised |
| Best first use | Tame phrases or peaks that jump forward | Reveal low level body, sustain, or room detail |
| Main risk | Flattened impact and dull consonants | Raised noise, breaths, and bleed |
| What to compare | Phrase movement and peak control | Quiet detail against the noise floor |
Do not confuse upward compression with upward expansion. Upward expansion raises material above a threshold and increases dynamic range. Upward compression raises material below a threshold and reduces dynamic range from the quiet side.
Use downward compression when the loud parts are the problem
Choose downward compression when a phrase, syllable, or peak jumps too far forward. The processor reduces level above its threshold, so the loud side of the performance becomes easier to place.
Start with the raw clip. If one word is wildly louder than everything around it, manual gain may solve the outlier more cleanly. Our vocal leveling guide covers that preparation. Then use compression for the movement that remains across the performance.
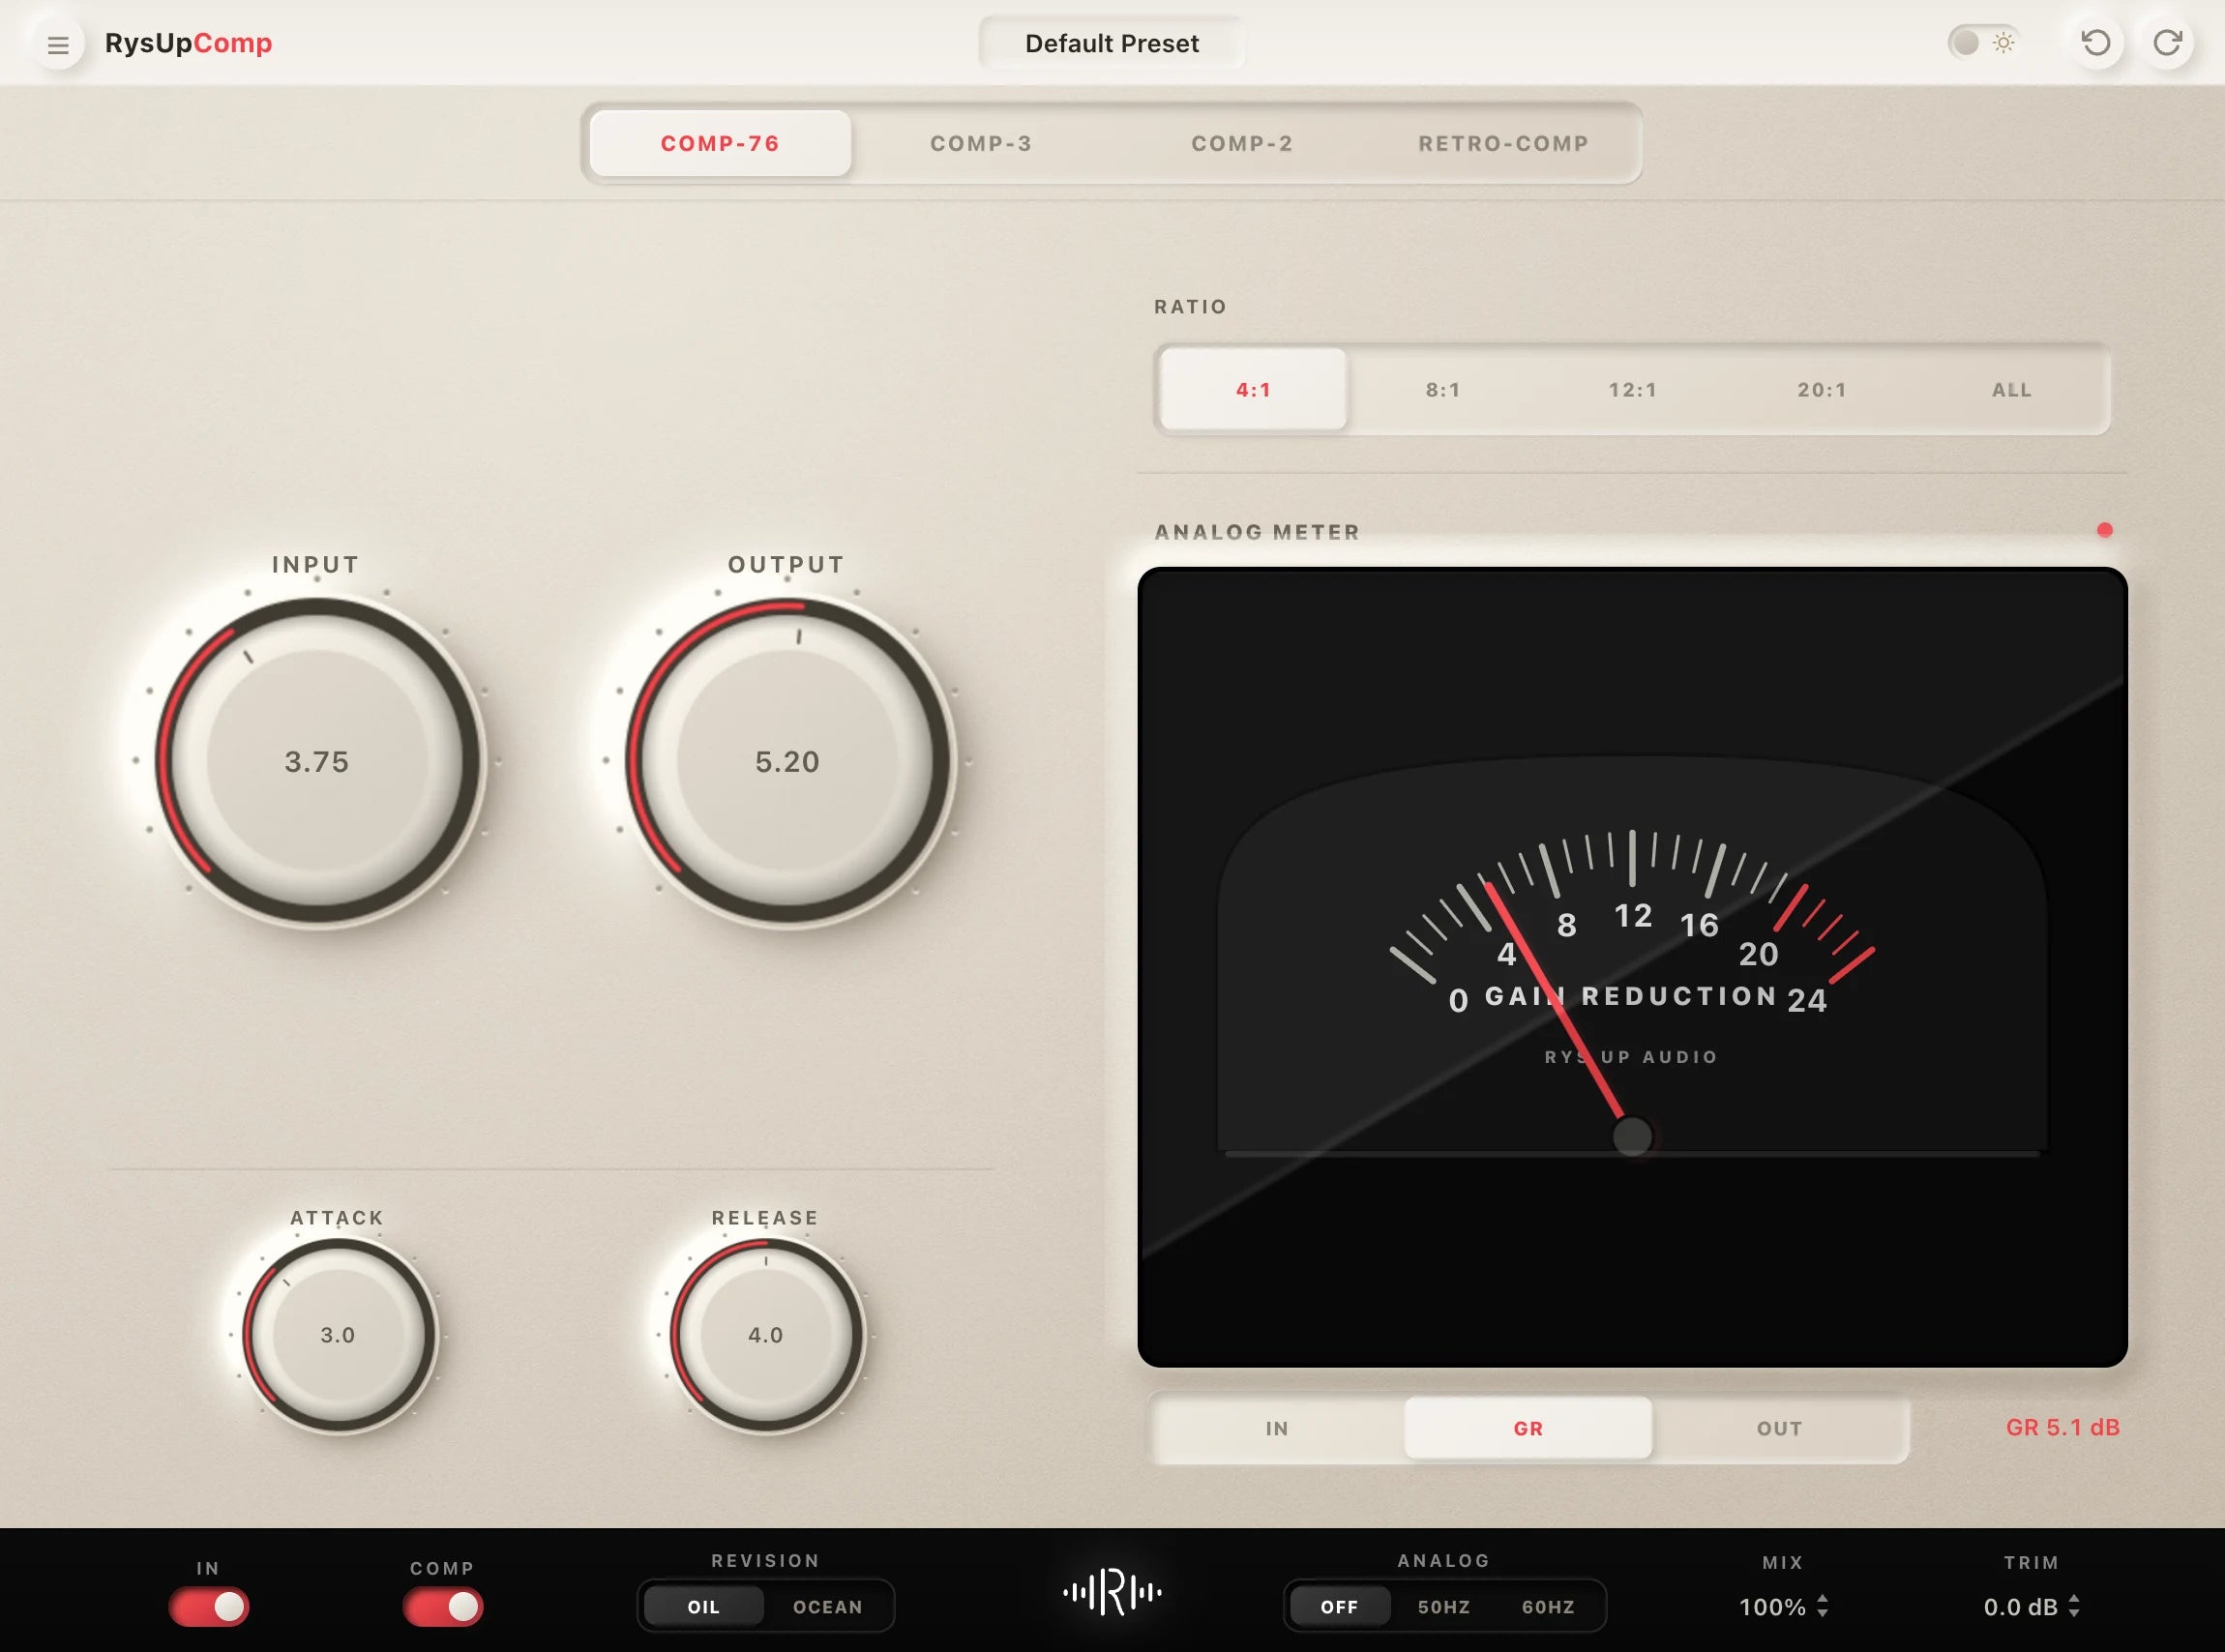
RysUpComp is the direct Rys Up path for this job. It offers four compressor workflows in one insert. Choose the response that fits the song, adjust conservatively, and listen to the consonants and phrase endings. If the vocal only sounds better while it is louder, level match before keeping the setting.
Use upward compression when the quiet detail deserves to come forward
Choose upward compression when the peaks already feel right but the lower level body, tail, or texture disappears. Instead of pressing the top down, the processor lifts from below.
This can keep transients more intact than driving the entire signal harder into conventional downward compression. It can make a restrained vocal feel denser, extend a soft room tail, or reveal detail between louder words. The price is that every quiet thing becomes eligible, including breaths and noise.
RysUpLimiter exposes this job as the Lift control, with a range from 0 to 10 dB in the current shipping interface. Start around 1 or 2 dB, compare at a similar output level, then increase only if the added detail still helps inside the full song.
Check the noise floor before you lift anything
Mute the instrumental and listen to the vocal gaps. Headphone bleed, fan noise, room tone, mouth noise, and reverb tails all live below the obvious words. Upward compression does not know which quiet information you like.
If the noise floor is already distracting, clean or edit the recording first. Do not use a gate just to hide everything between phrases if it cuts natural breaths and word tails. Do not expect upward compression to restore detail that was removed by aggressive denoising either.
After you lift, return to the full song. A little added texture can feel useful in solo and disappear naturally in context. A lot of added noise can fill every space in a sparse arrangement.
Do not call parallel compression upward compression
Parallel compression blends a heavily processed path with the dry signal. It can make quiet details more audible because the compressed return has less dynamic range. That audible result can resemble upward compression, but the routing does not prove that the detector itself applies an upward transfer law.
Use the parallel vocal compression workflow when you want blend control and a separate return. Use a true upward mode when you want the processor to target the lower level side directly. Pick based on the control you need, not the label that sounds more advanced.
Run one fair vocal test
- Choose a loop with contrast. Include a quiet word, a loud word, a breath, and a gap with room tone.
- Write the problem down. Decide whether you want less peak movement or more low level body.
- Build the downward version. Reduce only enough of the loud movement to make the phrase sit better.
- Build the upward version. Reset the first processor, then add a small amount of lift to the quiet side.
- Match the listening level. Adjust output so neither version wins only because it is louder.
- Check four details. Listen to consonants, sustain, breaths, and the noise in the gap.
- Choose one or combine lightly. Keep the move that solves the written problem. Use both only when each has a separate audible job.
A level matched comparison is the gate. Upward compression often sounds exciting at first because it reveals more information. Downward compression can feel polished because it makes the loud phrases behave. Neither reaction proves the setting fits the song.
Know when to use both
A vocal can have sharp peaks and buried low level detail at the same time. In that case, a small amount of downward compression can control the top, followed by a restrained upward lift that fills the lower body. Reverse the order only when you understand what the first stage sends into the second.
Keep each stage lighter than you would use alone. Two processors can hide how much total gain change is happening. Bypass the chain, match the result, and make sure the voice still breathes.
If the real issue is one clipped word, bad room tone, or poor phrase balance, fix that source problem first. Dynamics processing is not waveform repair.
The final decision
Use downward compression to control what jumps out. Use upward compression to reveal what falls below. Watch the noise floor, level match every comparison, and keep the move only when you can name what it improves.
Start with RysUpComp for conventional performance shaping and RysUpLimiter when the current Lift control fits the quiet detail job. Read the broader compressor vs limiter guide if the real decision is peak control. Explore RysUpSuite, the current lineup, and RysUpHub for the full install path.
Sources checked September 14, 2026
Technical reference: FabFilter Pro MB basic band controls and Dynamics Mode for the distinction among downward compression, upward compression, downward expansion, and upward expansion. RysUpLimiter 2.0 source, current Shopify record, and update feed confirm the Lift control, its 0 to 10 dB range, the current $49.99 outright price, and macOS and Windows artifacts. RysUpComp Shopify and update records confirm its four compressor workflows, current $49.99 price, and macOS and Windows artifacts.