
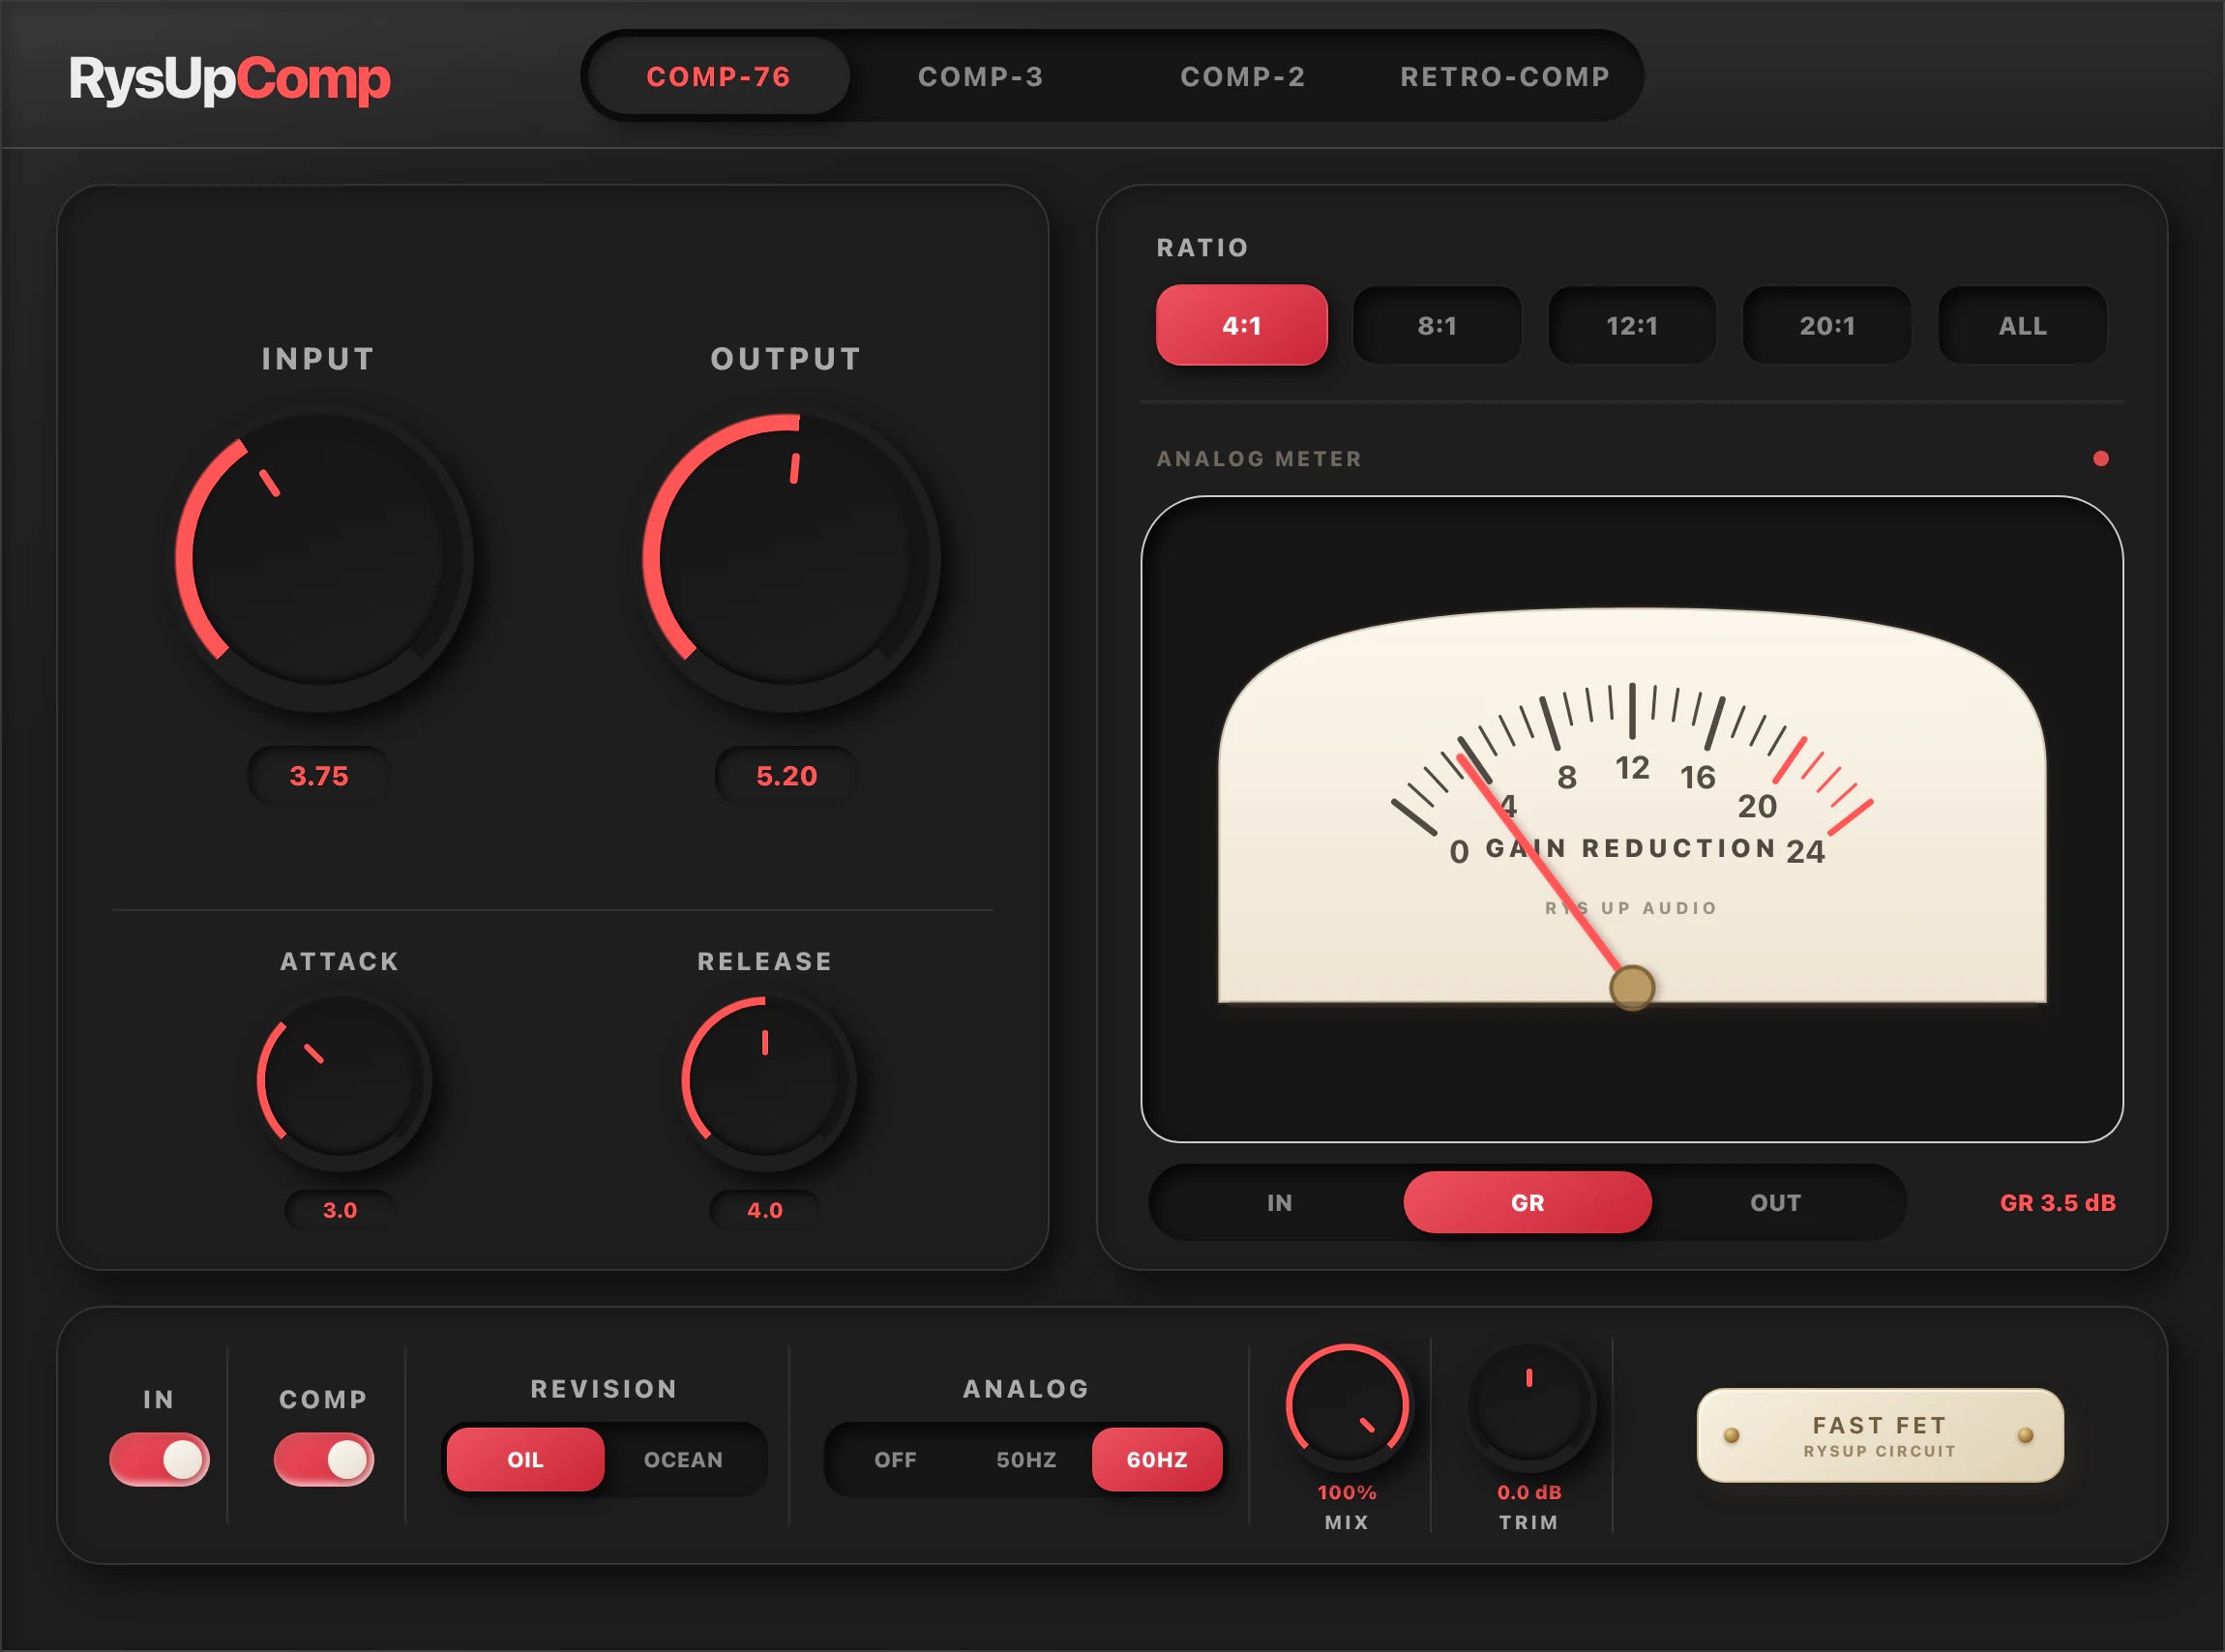
Shape the performance
RysUpComp

Control the peaks
RysUpLimiter
A vocal that jumps around and a vocal with one huge peak need different decisions. A compressor shapes how the performance moves. A limiter focuses on controlling peaks against an output ceiling. Both change dynamics, but reaching for either one without naming the problem is how a lively take turns into a flat one.
The useful compressor vs limiter question is simple: do you need a more controlled performance, tighter peaks, or both? Start there. Loudness comes later, after you have checked what the processing does to the voice inside the song.
Disclosure: Rys Up Audio makes RysUpComp and RysUpLimiter. The workflow below is editorial guidance, not a listening test or a claim that two processors sound identical.
Compressor vs limiter at a glance
| Your decision | Compressor | Limiter |
|---|---|---|
| Main job | Shape level changes and the feel of the performance | Manage peaks and output headroom |
| What you adjust | Amount, ratio and response over time | Amount of limiting, ceiling and recovery |
| What you listen for | Phrase consistency, consonants and movement | Peak control without unwanted flattening or distortion |
| Common mistake | Crushing the loudest phrase to rescue every quiet word | Driving harder when the real problem is a buried vocal |
These are practical roles, not a rule that every compressor or limiter behaves the same way. Some compressors have limiting modes, and some limiters offer creative shaping controls. Check the processor you are using instead of deciding from its name alone.
Use compression to shape the performance
Picture a verse where some phrases lean forward and others fall behind the beat. A compressor can reduce those level differences and change how the beginning and body of each phrase feel. Your goal might be a steadier lead, more apparent sustain, or a deliberate sense of movement.
In ordinary downward compression, the threshold identifies the level where compression begins and the ratio describes how strongly further level increases are reduced. As a simplified example, at 4:1, an input increase of 4 dB above the threshold corresponds to 1 dB at the output once the response has settled. Knee, timing and processor design affect the transition.
Attack and release matter because vocals are moving signals. Faster action may catch more of a consonant; a slower response can let more of its initial impact through. Recovery affects how the processor responds between words. Listen to the phrasing rather than treating a displayed number as a universal setting.
RysUpComp is the dynamics shaping path here. For the full setup process, use how to compress vocals. If a few raw phrases are wildly different, start with manual vocal leveling so one event does not dictate the whole compressor setting.
Use limiting when peaks are the problem
Now imagine that the performance already sits well, but a few short moments jump beyond the headroom you want to leave. A limiter can catch those moments while you judge whether the result still has the right impact. Its output ceiling gives you a target for the processed peaks.
A limiter is often described as a compressor with a very high ratio. That is a useful starting explanation, but it does not make every high ratio setting equivalent to a mastering limiter. Timing, detection and output behavior still matter.
RysUpLimiter provides threshold, ceiling, recovery and peak reduction controls. Use its meters alongside your ears. The displayed ceiling is not a promise about every later export, conversion or playback system; check the completed file and the requirements of its destination.
If limiting makes words dull, pushes breaths forward or changes the groove, reduce the amount and reassess the stage before it. Our vocal limiter workflow covers that narrower job without treating limiting as a replacement for the rest of the mix.
Decide whether you need one stage or two
Check the raw phrase balance, then audition compression.
Keep the useful movement and audition restrained limiting.
Give each stage a separate job, then judge their combined effect.
A compressor followed by a limiter is one useful arrangement: the compressor shapes the performance, then the limiter handles the remaining peaks. That does not mean every vocal needs both. A well controlled recording may need little processing, while an intentionally aggressive sound may use dynamics creatively.
Keep the rest of the chain in view. EQ can change what reaches the dynamics processor, and later gain changes can undo the output headroom you just set. Use the vocal chain order guide to place this choice inside the wider signal path.
Run a comparison that does not reward extra volume
- Choose a useful loop. Include a quiet phrase, a louder phrase and a consonant or accent that bothers you. Keep the instrumental playing.
- Write down the job. “The last word jumps out” is specific. “Make it professional” gives you nothing to verify.
- Audition compression first if the performance is uneven. Begin conservatively and change one control at a time. Listen for whether the words sit more consistently without losing their intention.
- Match the listening level. Use the processor output or a gain control after it to bring the processed and bypassed versions to a comparable perceived loudness. Keep the monitoring volume fixed. Do not assume matching peak readings also matches loudness.
- Add limiting only for a remaining peak problem. Start with very little action. Increase it enough to hear the tradeoff, then back away if the phrase loses impact or texture.
- Check the full passage. Compare the quiet phrase again, then the next loud section. A setting that wins on one word can lose across the take.
Keep bypass comparisons short and repeatable. If the processed version only wins while it is louder, lower it and compare again. If the difference remains useful at a similar playback level, save that version and stop adding processing out of habit.
Keep ceiling, clipping and vocal balance separate
A limiter cannot reconstruct a clipped recording. If distortion was printed during capture or an earlier stage, lowering peaks afterward does not restore the missing shape. Return to the recording or the overloaded stage when possible.
A ceiling is not the final vocal fader position. A vocal can have controlled peaks and still be too loud or too quiet against the instrumental. Make that musical decision with the vocal mixing levels guide, after the processing is behaving.
Different peak modes answer different questions. Sample peaks and reconstructed peaks are not interchangeable measurements. If the destination specifies a peak limit, use the relevant meter and inspect the final export. A clean reading before another gain stage or file conversion is not the whole delivery check.
More limiting is not automatically more clarity. If the lead disappears only when a guitar or synth enters, investigate the arrangement, tone and masking. Turning up the entire finished mix raises the competing parts too.
Give each plugin a reason to stay
Keep the compressor when its control of the performance helps the song. Keep the limiter when its peak control solves a remaining problem without an unacceptable tradeoff. Bypass either one if you cannot name what it improves.
For a Rys Up setup, start with RysUpComp for the dynamics decision and RysUpLimiter for the peak decision. You can use one without the other. The useful result comes from choosing the job and checking the recording, not from filling every insert slot.
Explore RysUpSuite when you want the wider toolkit, or use the individual product pages to compare ownership options. Check the current lineup and install through Rys Up Hub. If you are choosing your first dynamics tool, the vocal compressor guide gives the surrounding buyer context.
Sources checked September 12, 2026
Technical references: Apple’s compressor guide for threshold, ratio and timing; the Ableton Live effects manual for compressor and limiter controls; and iZotope’s compression and limiting explainer for practical roles and exceptions. RysUpComp and RysUpLimiter are shown as examples of the two jobs. Choose settings from your own recording.
A red meter can mean several different things. Follow our vocal clipping check to tell capture damage from a hot plugin or bus before choosing a compressor or limiter.