
Record a single vocal microphone in mono. Use a stereo track only when the source really has two different channels, such as a deliberate two microphone array or a stereo hardware output.
If your one microphone lands only on the left side of a stereo clip, the vocal is not missing a stereo effect. The DAW recorded one mono input into the left half of a two channel file. Put that input on a mono track and let the track feed the stereo mix from the center.
Rys Up Audio makes the plugins linked in this guide. The recording decision comes first. No plugin can create a second microphone channel that was never captured.
Mono is the default for one vocal mic
A microphone connected to one interface input produces one channel. That channel contains the full performance. Mono does not mean small, cheap, or stuck in one speaker. It means the recording has one channel of source information.
Your mono vocal track normally feeds both sides of the stereo master bus. Pan it to the center and you hear it equally from the left and right speakers. You can still add stereo reverb, delay, chorus, or doubling later. Those effects create a stereo field around a clean, stable lead.
Focusrite gives the same setup rule across common DAWs: one microphone or guitar should be assigned to a mono input, while the track output remains available to the stereo mix. That distinction solves the common left only recording problem without copying or widening the file.
Stereo needs two real channels
Choose stereo when the source sends meaningful and different left and right signals. A spaced pair, XY pair, ORTF pair, stereo room microphone, keyboard with left and right outputs, or hardware processor with a stereo output can justify a stereo track.
For lead vocals, a stereo microphone setup is a creative capture choice. It collects more room, more position difference, and more phase interaction. That can sound wide and immersive, but it also makes editing and mono compatibility harder. A bedroom reflection that sounds subtle in mono can become obvious when two microphones capture it from different angles.
Fix a vocal that plays on one side
Do not duplicate the clip and pan the copies. First inspect the input assignment. If the mic is plugged into input one, choose input one mono rather than inputs one and two stereo. Create a new mono track, record a short test, and confirm the meter moves on that track.
If the performance is already recorded into only the left side of a stereo file, split or convert it to mono using the channel that contains the vocal. Keep the good side, center the resulting mono clip, and delete the empty channel. The exact menu name varies by DAW, but the signal rule does not.
A stereo to mono conversion should not make the vocal quieter by surprise. Level match the result against the original active channel. If summing both sides changes the level, use the single populated channel rather than combining signal with silence.
Save the corrected mono clip as a new file and keep the original recording. That gives you a clean working asset and a reversible path if you discover that both channels contained useful information.
Run a thirty second recording test
- Arm one mono audio track and select the exact microphone input.
- Pan the track to the center and turn off widening effects for the test.
- Speak at the real performance level while watching for clean headroom.
- Record one sentence, stop, and listen from both speakers.
- Press the mono button on your monitor path if available.
- Check that the waveform and meter behave like one centered source.
This quick pass separates routing trouble from microphone placement, room tone, or processing. If the vocal is still off center after the track is truly mono, inspect pan automation, stereo plugins, sends, and the master bus.
Keep the lead mono in the mix
A centered mono lead gives the listener a fixed point while the music moves around it. Edit timing, tune notes, clean noise, de ess, shape tone, and compress the lead before building width around it. That order makes problems easier to hear and prevents a stereo effect from hiding a rough edit.
Mono source files also simplify comping. Every take has one waveform and one timing reference. Crossfades remain predictable. When the chorus needs more size, add real doubles, harmonies, ad libs, or a controlled widening return instead of changing the original capture format.
Add width after capture
Recording in mono does not lock the final vocal to mono. Keep the dry lead centered, then send it to a stereo effect or layer a separate performance. This is the same boundary used in our guide to making vocals wider: width should support the lead rather than pull it apart.
If you use a doubler, start quietly. Short timing and pitch differences can create width, but too much wet level can blur words or collapse strangely in mono. Bypass the effect, match loudness, and check the full mix before deciding it is better.
Mono versus stereo decision table
| Recording job | Track format | Why | Watch for |
|---|---|---|---|
| One lead vocal mic | Mono | One source and one interface input | Wrong stereo input causing left only playback |
| Two microphone vocal array | Stereo or two mono tracks | Preserves two distinct captures | Phase, room pickup, and edit complexity |
| Real doubled vocal takes | Separate mono tracks | Each performance stays editable | Timing and pitch differences that distract |
| Stereo keyboard or hardware effect | Stereo | The source already has left and right information | Accidentally selecting only one side |
| Mono lead with stereo reverb | Mono track into stereo return | Stable lead plus controllable space | Wet level masking the words |
Build the clean vocal path
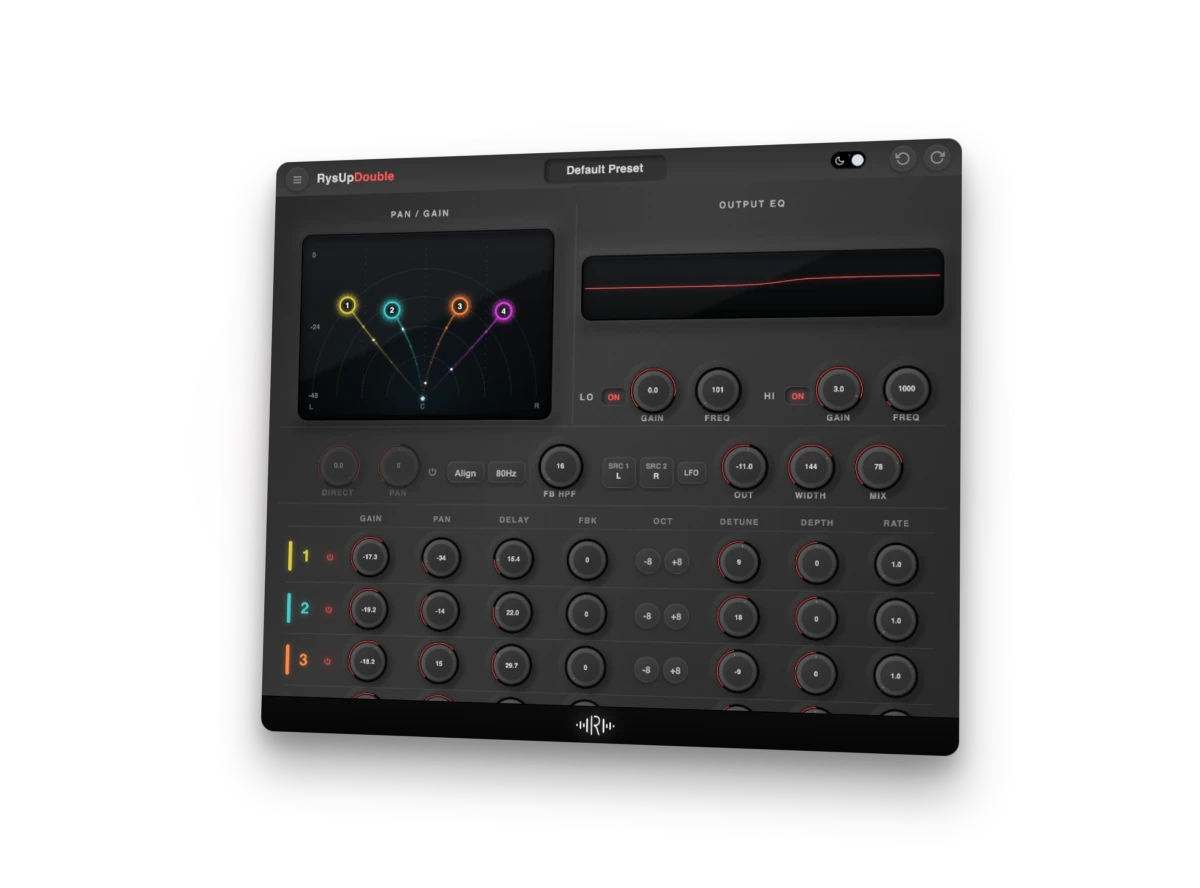
Once the routing is right, solve the actual recording. Use RysUpDS when sibilance jumps out, RysUpComp when the performance needs controlled dynamics, and RysUpDoubler when the finished lead needs width. None of those processors changes the basic input rule.
If you want the full vocal chain, RysUpSuite puts the current paid plugin lineup in one path. You can also browse the complete plugin lineup or install through the RysUpHub.
The recording checklist
One microphone goes to one mono input. A mono track can still play through a stereo mix. Use stereo only when two real channels carry useful differences. Fix left only routing before editing. Keep the lead stable, then add width with separate takes or a controlled stereo return.
That choice is simple, but it prevents hours of fake repair work. Get the source format right, record a short test, and move on to the part that matters: the performance.
Once the input format is clear, choose a host that can save and export the whole song. Our free recording software comparison sorts simple audio editors from browser and desktop DAWs.
Sources checked September 15, 2026: Focusrite mono and stereo input guidance and Focusrite channel setup examples.