
By Jordan Rys · March 24, 2026 · 11 min read


The warm, intimate vocal direction is a useful reference, but there is no single setting sheet for every Drake record. This guide builds one practical chain you can adapt to your own recording. The numbers below are starting points, not verified settings from Drake or his engineers.
What Makes the Drake Vocal Sound Unique?
Before touching a single plugin, you need to understand what you're building toward. Drake's vocals are defined by a few core characteristics:
- Warmth over brightness — His voice sits in the low-mids, not the high-frequency "presence" zone most mix engineers chase. Use that darker tonal direction as a listening reference rather than a fixed EQ prescription.
- Natural-sounding pitch correction — For this direction, aim for pitch correction that retains the performance’s vibrato and slides. It's the opposite of hard-tuned trap vocals.
- Intimate reverb depth — He sounds like he's in a large room, but still close to your ear. Long pre-delays keep his voice from drowning in wash.
- Dynamic compression, not limiting — His vocals breathe. You can hear the natural dynamics of his delivery instead of everything being brick-walled.
- Thick vocal layering — Ad libs, doubles, and background harmonies fill the space without competing with the lead.
The biggest mistake producers make is EQing Drake-style vocals too bright. If you're boosting 5kHz to get "presence," you're going in the wrong direction.
Step 1 — The Recording Foundation
Start with a quiet recording and a consistent microphone position. A directional microphone can add low frequency weight as you move closer, but the useful distance depends on its design, the room and your delivery. Record a short distance test with a pop filter before committing to the full take.
If you're recording at home, here's how to compensate:
- Try roughly 6 to 12 inches from the mic as a starting test and compare a closer and a more distant pass
- Use a pop filter to control plosives at that distance
- Record in a treated space (blankets, acoustic panels behind you) and listen for room reflections in the dry recording
- Gain stage carefully: aim for -18 to -12 dBFS peaks, never clipping the input
A controlled raw vocal can reduce corrective mixing work. A poorly recorded one can't be fixed with plugins.


Step 2 — The Drake EQ Approach (Cut First, Warm Second)
For a darker, warmer example, begin by controlling the frequencies that distract from the performance. Here is one EQ starting approach:
High-Pass Filter
Start with a high-pass filter at 80Hz at 18dB/octave. Drake's voice has natural low-end weight, and you want to keep the body while removing the sub-rumble that makes vocals muddy in a mix. Sweep the cutoff while comparing at matched level. A higher cutoff may help one voice and thin another; keep the body that matters in the full mix.
Problem Frequency Cuts
These are narrow cuts to clean up without thinning the voice:
- 200-300Hz: Cut 2-4dB with a medium Q if there's boxiness. Adjust by ear — not all voices need this.
- 400-600Hz: The "nasal/honky" zone. A gentle 1-2dB cut here keeps the warmth without the congestion.
- 3-4kHz: Reduce 2-3dB if the vocal sounds harsh or "digital." Drake's vocals are notably smooth in this range.
Presence Shelf (Optional)
If your vocal sounds too dark after those cuts, add a gentle shelf boost around 10kHz at +1.5 to +2dB — not the 5-8kHz boost most engineers use for presence. This adds air without making the vocal sound bright or nasal.
The goal is a vocal that sits back slightly in the high-mids while staying warm and full in the low-mids. Think "intimate" not "forward."


Step 3 — Compression: Smooth, Not Slammed
For this example, try two gentle compression stages: one to control peaks and another for leveling. Keep the second stage only if it helps the phrase at matched loudness.
First Compressor (Taming Transients)
| Parameter | Setting | Why |
|---|---|---|
| Ratio | 2.5:1 – 3:1 | Gentle enough to preserve dynamics |
| Attack | 10-15ms | Let transients breathe through before clamping |
| Release | 60-80ms | Fast enough for natural breath patterns |
| Threshold | -20 to -16dBFS | Aim for 4-6dB gain reduction on peaks |
| Knee | Soft (4-6dB) | Transparent onset, no pumping artifacts |
Second Compressor (Glue/Leveling)
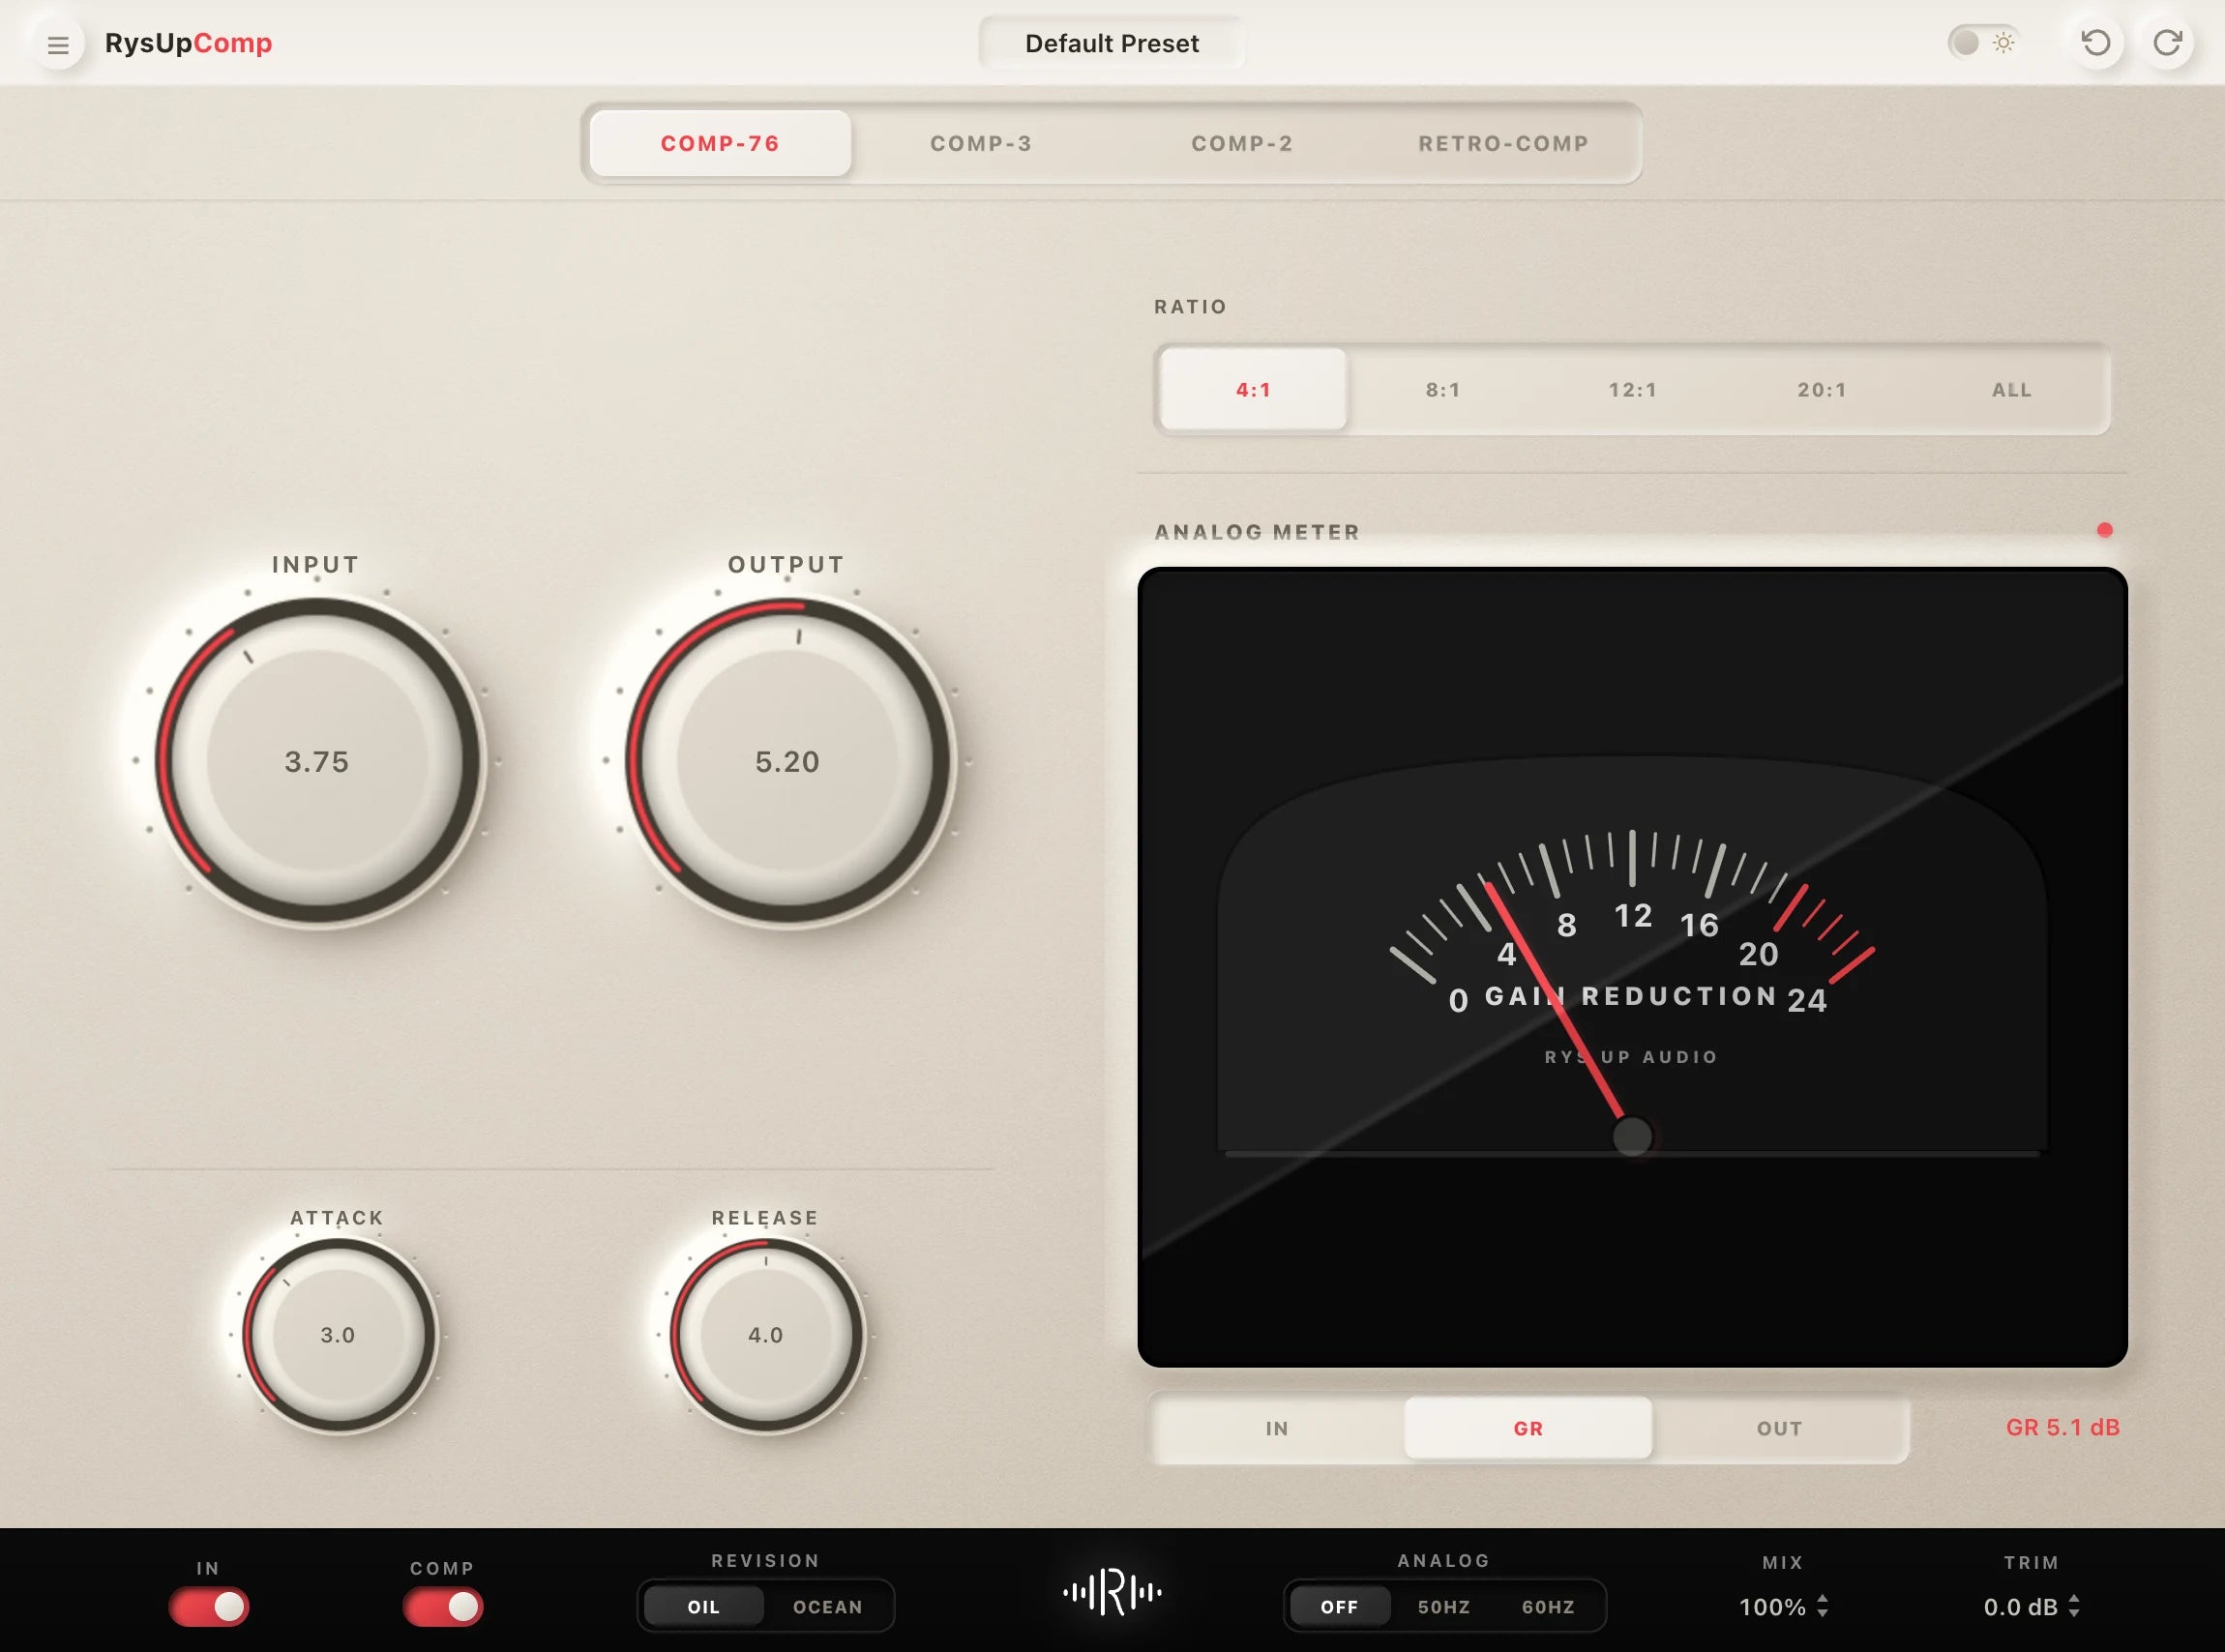
For a second leveling stage, try RysUpComp’s Comp-2 optical-style model and begin with only a little gain reduction. It uses a different control layout from the Retro-Comp model, so do not look for the same ratio and timing controls in every tab. Add this stage only when it improves the phrase at matched loudness.
Step 4 — Pitch Correction: Natural, Not Robotic
For a natural direction, start with moderate correction and listen to held notes, transitions and quiet endings. A value around 20 to 35 ms can be a starting experiment on a control measured in milliseconds, but numbers are not interchangeable between tuning plugins. Choose the song’s key and scale before judging the speed.
Auto-Tune Settings for the Drake Sound
- Retune speed: start moderately, then reduce correction if it bends intentional slides or vibrato.
- Scale: Set to the key of the song. Use chromatic sparingly — it can sound unnatural.
- Humanize: if your chosen tuner exposes this control, compare sustained notes before and after changing it
- Natural Vibrato: preserve intentional vibrato by listening to the held notes; do not assume a named switch exists in every tuner.
- Formant correction: if available, compare the voice with and without it during larger shifts.
This example aims for a corrective result rather than an obvious effect. The goal is a perfectly in-tune vocal that still sounds like a human sang it. If anyone can tell you used Auto-Tune, the settings are too aggressive.
Use RysUpTune for real-time correction, then set the key, scale and correction amount for the actual performance. Do not assume a preset name guarantees an artist’s settings. Install the format supported by your DAW through the plugin installer hub.
Step 5 — De-Essing (Light Touch)
Sibilance changes with the singer, microphone and recording. Find the actual sharp consonants before selecting the range, and back off if the de-esser makes the vocal sound lispy.
Use RysUpDS to target the sibilant range, and set the reduction while the sharp consonants play. Compare the full phrase so the correction does not dull every word.

Step 6 — Reverb: The OVO Signature Space
Depth behind an intimate lead is one useful direction to explore. Aim for a space that extends behind the vocal without masking the words.
Lead Vocal Reverb
| Parameter | Setting |
|---|---|
| Type | Hall or Large Room |
| Pre-Delay | 30-45ms — keeps the dry vocal upfront |
| Decay / RT60 | 1.8-2.5 seconds |
| Wet Mix | 100% wet on a dedicated return; blend with the send and return levels |
| High Shelf on Reverb | Cut above 6kHz by 4-6dB — darker reverb tail |
A dedicated send/return is useful when you want independent control of the reverb. An insert can also work when its dry/wet balance is intentional. This gives you independent control of the reverb wet signal and keeps the dry vocal tight.
The long pre-delay is the key insight here. At 30-45ms, your brain perceives the dry vocal and the reverb as separate elements — the vocal sounds present and intimate, while the reverb creates the sense of depth behind it. Cut the pre-delay and everything washes together.

Step 7 — Delay: The Subtle Depth Layer
A short slapback can add depth without a long trail of repeats. Try roughly 75 to 100 ms with feedback low, then audition a separate tempo-synced throw on a few words. This is an example arrangement choice, not a claim that every Drake record uses that setup.
- Short delay: 75ms, 0 feedback, a restrained wet blend on an insert, or a fully wet dedicated return with a low send — adds dimension, subtle stereo spread
- Long phrase delay (automation): 1/4 or dotted 1/8 note, 1-2 repeats, automated in on key phrases only
- Filter the delay return: high-pass at 200Hz, low-pass at 8kHz — delays shouldn't pile up in the low end
Step 8 — Vocal Layering and Ad Libs
A single Drake lead vocal only tells half the story. His records use dense layering that fills the stereo field without congestion.
The Drake Layering Stack
- Lead: Center, full chain as described above
- Tight double: Recorded separately (not a copy), panned ±15-20, low-pass filtered at 8kHz, -8 to -10dBFS vs lead. This is the "glue" layer.
- Wide double: Panned ±30-40, heavily filtered (low-pass 6kHz, high-pass 200Hz), -12 to -15dBFS. Creates width without frequency competition.
- Harmonies: 3rds or 5ths above/below the melody, -15 to -20dBFS, filtered aggressively. They should be felt, not heard.
- Ad libs: Panned ±20-30, often shorter reverb than the lead, -10 to -12dBFS. Higher energy, less sustained than lead.
Start the supporting layers below the lead and raise them only as far as the arrangement needs. An obvious double can be intentional; reduce it when it competes with the lyric.
The Full Drake Vocal Chain Summary
| Stage | Plugin / Tool | Key Setting |
|---|---|---|
| Noise Reduction | RysUpNoise | Start with low reduction and check consonants |
| EQ 1 (corrective) | RysUpEQ | HP at 80Hz, cut 3-4kHz by 2dB |
| Compressor 1 | RysUpComp | Use a model with adjustable timing; start with modest gain reduction |
| Pitch Correction | RysUpTune | Set key and scale; audition moderate correction |
| De-Esser | RysUpDS | Target the sibilant range with a light touch |
| Compressor 2 (glue) | RysUpComp | Comp-2: light leveling, judged at matched loudness |
| EQ 2 (creative) | RysUpEQ | +1.5dB shelf at 10kHz (air) |
| Reverb (send) | RysUpVerb | Hall, 35ms pre-delay, 2.2s decay |
| Delay (send) | RysUpDelay | 75ms slapback, 0 feedback |
Every plugin in this chain is available in the RysUp vocal mixing plugin bundle. Download and install the plugins you need from the plugin installer hub.
Shortcut: The Drake Vocal Preset
If you want the Drake sound without building the chain from scratch, the Drake Vocal Preset is already configured for FL Studio, Ableton Live, Logic Pro, and Pro Tools. It includes the full processing chain — EQ curves, compression settings, reverb depth, pitch correction retune speed — prepared as an artist-inspired starting point for you to adjust. Load it, adjust for your voice and recording environment, and you're done.
Working in FL Studio? Compare the FL Studio vocal presets for editable mixer-chain starting points. Choose the FL version, check its required processors and load it using the included instructions. Then set the song key and rebalance the wet effects against your own recording.
It's part of the broader vocal preset library, which includes artist-specific presets for Travis Scott, The Weeknd, Post Malone, Juice WRLD, Yeat, Lil Baby, Trippie Redd, Tory Lanez, and other artist-inspired options. If you're producing consistently in one artist's style, a preset gives you a repeatable starting chain while your voice and recording still determine the final adjustments.
For mixing tips on related styles, check out how to mix trap vocals, how to mix R&B vocals, and the complete vocal chain order guide.
Pair Your Vocals With RysUp Plugins
If you want to upgrade your vocal chain, every plugin in the RysUp collection is built specifically for vocal production — modern codebase, weekly updates, no iLok, and a fraction of the cost of legacy software.


Turn the workflow into a starting chain
Compare Hip Hop and Rap vocal presets
Use this guide to learn the Drake inspired vocal workflow. Open the Hip Hop and Rap vocal preset collection when you want editable chains for melodic leads, hooks, doubles, and backing vocals.
Melodic vocal starting points
Compare complete R&B vocal presets
Use this guide to study the melodic vocal workflow. Open the R&B vocal preset collection when you want editable starting chains for intimate leads, smooth doubles, hooks, harmonies, and supporting vocals.
A dense vocal does not need another serial stage every time. Try this parallel compression vocal method and judge the return at matched loudness.
Workflow corrections checked September 11, 2026: Ableton’s return-effect guidance, the current RysUpComp model descriptions and RysUpNoise’s single-control workflow. The artist reference describes a production direction, not an endorsed or authenticated session recreation.