
Use multiband compression on vocals only when one frequency range changes too much while the rest of the performance already feels right. Split the vocal into useful zones, listen to one zone at a time, lower its threshold until the bad moments trigger one to three dB of movement, then compare at the same loudness.
Disclosure: Rys Up Audio makes RysUpMultiBand. This workflow works with any capable multiband compressor. Product details and shipping files were checked September 5, 2026.
The fast answer: start with broad bands, a gentle range, and slower releases than you think. Fix only the low mids that bloom, the presence that bites, or the top band that spits. If every band moves through every word, use a normal compressor first.
Use multiband compression when one zone moves
A normal compressor reacts to the whole vocal. A bright vowel can pull down the chest. A low note can make the entire signal duck. Multiband compression separates those jobs so one unstable range can move without flattening everything else.
The clearest reasons are changing proximity in the low mids, upper mid bite on loud notes, top end sibilance that appears only on a few words, or a breathy hook that becomes thin whenever the singer pushes. Name the range and the moment before adding the plugin.
Do not reach for it because the mix feels generally unfinished. Start with the vocal EQ workflow for static tone and the vocal compression cheat sheet for full range dynamics.
Diagnose the vocal before splitting it
Loop the worst eight bars and bypass every processor that is not required to hear the problem. Turn the monitor down. Listen for one repeatable change, not a vague feeling.
If the same range is wrong on every word, use static EQ. If the whole vocal jumps forward and back, use clip gain or full range compression. If only S sounds are sharp, use a dedicated de esser. Multiband compression belongs in the middle when a frequency problem comes and goes with the performance.
Move a narrow EQ boost slowly while the loop plays to locate the range, then remove that boost. This is a search move, not the fix. Once the bad area is obvious, place the crossover edges far enough away that the band contains the full problem.
Start with four useful vocal bands
| Zone | Starting range | Common problem | First move |
|---|---|---|---|
| Low | Below 120 Hz | Rumble and plosive weight | Use a filter or clip repair first |
| Low mid | 120 to 450 Hz | Proximity bloom and boxiness | One to three dB downward range |
| Mid and presence | 450 Hz to 5 kHz | Nasal tone or hard upper mids | Split only when the problem changes |
| Top | Above 5 kHz | Sibilance and breath spikes | Fast light control or a de esser |
These are search zones, not rules. A deep voice may carry body lower. A thin condenser may push bite higher. Move the crossover while soloing the band, then stop when the problem sits inside it without dragging half the vocal along.
Set threshold range attack and release
Set Range before Threshold. A downward range of two or three dB creates a safe ceiling on the correction. Now lower Threshold until only the words with the problem reach that range.
Use a slower attack when the front of the word needs to stay alive. Use a faster attack for plosive energy or sharp upper mids, but stop when consonants lose definition. Release should return smoothly before the next phrase without making the band breathe.
Ignore a ratio control when the processor does not expose one. Threshold, Range, Attack, and Release still define the practical movement. Watch the gain trace, then make the decision with your ears at matched output level.
First separate proximity buildup from a moving mix problem, then use dynamic control only for the range that still changes across phrases.
Control low mid proximity without thinning
Put one band around the area that grows when the singer leans toward the microphone. Start near 150 to 400 Hz, set a range near minus two dB, use a medium attack, and lower Threshold until close words settle into the same body as distant words.
Bypass the band on a low sustained note. If the active pass loses the singer's size, the band is too wide or the threshold is too low. Narrow the job before increasing the amount.
A high pass filter removes constant rumble. Dynamic low mid control catches changing proximity. Use the high pass vocal guide when the problem lives below the useful body of the voice.
Tame harsh presence only when it jumps
Hard vowels and loud notes often push two to five kHz forward. A static cut can make every quiet phrase dull. A controlled presence band can move only when that bite appears.
Solo the band briefly, find the hard area, then return to the full vocal. Start with one or two dB of range. Use enough attack to keep the word readable and enough release to recover before the next important syllable.
If the harshness is narrow and whistles at one frequency, use dynamic EQ. If it spreads across a wide vocal register, multiband compression is a better first test. The clear vocal guide maps those causes before you add more brightness.
Use the top band carefully for sibilance
Set the upper crossover near the start of the harsh S range, often around five to eight kHz. Use a fast attack, a modest range, and a release that lets the band recover between consonants.
Listen to the removed signal when the processor offers a Listen control. You should hear the distracting edge, not whole vowels and breath detail. If full words disappear into the detector, narrow the band or raise Threshold.
A dedicated tool remains faster for isolated sibilance. Use the de essing workflow when the problem is clearly consonant led.
Run the workflow in RysUpMultiBand
RysUpMultiBand has four crossover bands plus two floating bands for focused areas that do not need a full crossover split. Each band exposes Threshold, Range, Attack, Release, Makeup, Sidechain, Listen, Solo, Mute, and Active controls. The floating bands also expose frequency and Q.
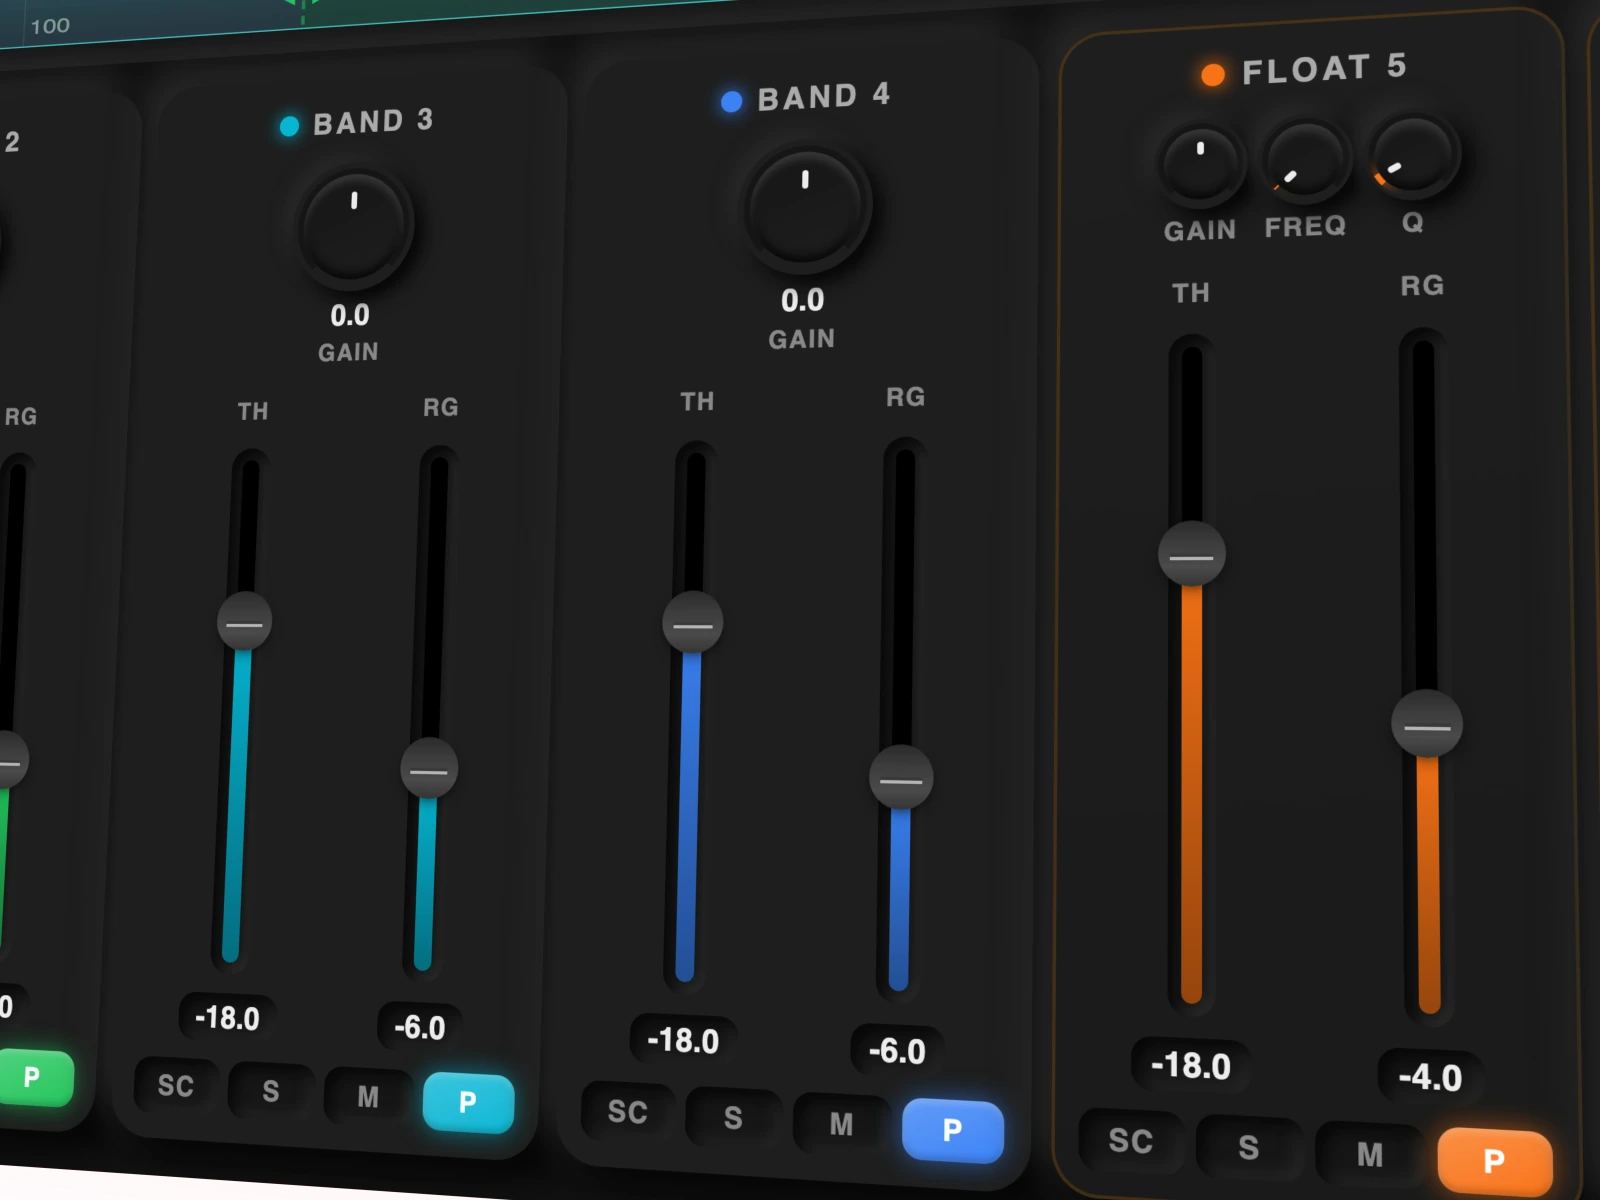
The current release is version 1.0.33. It costs $49.99 outright and ships through RysUpHub for macOS and Windows. Current artifacts include AU, VST3, and AAX on macOS plus VST3 and AAX on Windows.
Use the four crossover bands for broad zones. Use a floating band when one moving resonance needs focused control without rebuilding every crossover. Solo to locate the area, Listen to inspect the detector, then return to the complete vocal before deciding.
Run a level matched vocal test
- Choose eight bars with quiet and loud registers.
- Name one changing frequency problem.
- Solo the target band and place its edges around the full problem.
- Set a downward range of two or three dB.
- Lower Threshold until only the bad moments trigger movement.
- Adjust Attack and Release while listening to word edges.
- Match output level and compare active against bypassed.
- Check the same settings against a different section.
Keep the processor only when the vocal becomes more consistent without losing identity. Save the crossover layout as a starting point, but reset Threshold and Range for every singer.
Fix the common multiband mistakes
- Every band moves: use a normal compressor first.
- The vocal gets thin: reduce low mid range or narrow the band.
- Consonants disappear: slow Attack or raise Threshold.
- The tone pumps: lengthen Release and reduce range.
- The bypass sounds smaller: remove makeup gain and match loudness.
- The chain gets confusing: keep only the one band that solves a named problem.
More bands do not create a better vocal. Clear jobs create a better vocal. One useful moving band beats six busy meters.
Fix one moving range and leave the rest alone
Multiband compression earns its slot when a range is inconsistent and the full vocal does not need more compression. Diagnose first, limit the maximum move, and compare at the same loudness. Stop as soon as the problem quits distracting you.
Sources checked September 5, 2026: RysUpMultiBand product page, RysUpMultiBand update feed, and an official multiband compression guide.