
Vocal comping means choosing the best parts of several recorded takes and assembling one convincing performance. Start with the strongest complete take, replace only the phrases that need help, then check every transition in the song. More edits do not automatically make a better vocal.
If the job extends beyond take selection, compare vocal editing software by the edit you need.
If your verse has the right attitude but one weak line, you probably need a better take for that line before you need another plugin. Keep the emotion. Fix the distraction. Stop before the singer sounds like a collection of unrelated words.
Disclosure: This guide is published by Rys Up Audio. Our mixing plugins appear where they fit after the edit. The take selection and crossfades happen in your DAW.
What vocal comping fixes
Comping solves an inconsistent performance when you already recorded usable alternatives. Maybe take two has the best opening, take four lands the hook, and take one has the only relaxed ending. You can combine those moments without keeping the weakest parts of every pass.
It does not create a note you never sang, repair every clipped recording, or guarantee matching microphone tone. If all the takes have the same problem, record another version. If one full take already works, use it. The listener cares about the performance, not how many edits you made.
Choose your anchor take
Listen to each complete pass against the instrumental before you zoom into individual words. Pick an anchor for its delivery, groove, phrasing, and emotional direction. A technically cleaner take can still feel less believable.
Write a short note for the sections that actually bother you: rushed second line, weak final word, wrong lyric. That list becomes the edit plan. Avoid replacing a phrase just because a different take exists. Compare alternatives at similar listening levels so the louder recording does not win by default.
Keep the session reversible
Save a new project version and keep the original takes. Name lanes with something you can recognize, such as Verse 1 relaxed or Hook 3 strong ending. Leave enough recording before and after each phrase to adjust the edit later.
Monitor through the same basic path while comparing. An enormous reverb can hide a rough join, while different processing on each take can disguise a tone mismatch. If you need recording fundamentals first, use our vocal recording guide. Consistent mic distance and delivery save more editing time than clever cuts.
Comp phrases before words
Replace a complete musical phrase first. A phrase carries its own breath, vowel shape, timing, and energy. Switching takes halfway through it can interrupt that relationship even when every individual word sounds clean.
Try the replacement with the preceding and following lines playing. Does the new line arrive with the same intensity? Does its final syllable lead naturally into the next breath? If a whole phrase cannot work, try a smaller section. Keep word edits for specific problems instead of turning every syllable into a separate decision.
| What you hear | First move | Stop if |
|---|---|---|
| One weak phrase | Audition complete alternatives | The replacement breaks the emotional flow |
| One wrong word | Try the word with its surrounding consonants | The accent or tone jumps |
| Every take struggles | Record the phrase again | You are forcing unrelated fragments together |
| A good take with uneven level | Keep the performance and adjust clip gain | You are replacing emotion just to match loudness |
Use your DAW lanes
In Ableton Live, open the track header menu and choose Show Take Lanes. Audition the available takes, select the phrase you want, then use Copy Selection to Main Lane or press Enter. The main lane becomes the composite. Ableton documents these steps in its current comping manual.
In Logic Pro for Mac, recorded takes can live inside a take folder. Quick Swipe Comping lets you select sections across those takes to build the comp. Check the Logic comping overview for the current take folder workflow.
If your editor uses ordinary tracks instead, keep the source recordings underneath a destination track and copy chosen sections there. Preserve their timeline position. Make only the intended lead audible, then inspect overlaps so you do not accidentally play two takes together.
Make the joins disappear
Put the transition where the performance gives you room. A quiet gap can work, but listen to the room sound too. Cutting from a noisy gap to absolute silence can reveal the edit. A sustained vowel often exposes a change in tone or pitch.
Add a short crossfade and listen through the join. Start small, then adjust the length and location until the transition stops calling attention to itself. There is no universal fade length: consonants, breath noise, note shape, and the difference between takes all matter.
Ableton can automatically create four millisecond crossfades between adjacent clips when Create Fades on Clip Edges is enabled. That is a useful initial safeguard against clicks, not proof that the musical join works. Play it in context and change it if the consonant softens or two vowels briefly overlap.
Keep believable breaths
The inhale belongs to the performance. Listen to the breath before the replacement and the release after it. A strong new line can still sound pasted in if it begins with the wrong inhale or loses the end of the previous word.
Keep one believable breath when takes overlap. If it is distractingly loud, turn down that region with clip gain instead of automatically deleting it. Listen for doubled S sounds, clipped T sounds, and tails that stop suddenly. These tiny details often expose a comp sooner than pitch does.
Match level before compression
Once the phrases work, make modest clip gain adjustments where a replacement jumps in loudness. Judge the transition while the beat plays. You want a consistent lead, not a perfectly flat waveform.
Next, follow our vocal leveling workflow before applying compression. A compressor responds to the audio you feed it. Fixing an obvious level jump first gives you a more useful starting point, while preserving deliberate soft and loud moments.
If the replacement sounds nasal, distant, or unusually roomy, investigate the take choice before reaching for EQ. A recording made from a different position may remain different after its volume matches.
Process the finished performance
Build a rough comp before detailed tuning and mixing so you spend that work on the performance you intend to keep. Keep the source takes available in case the mix exposes a better choice later.
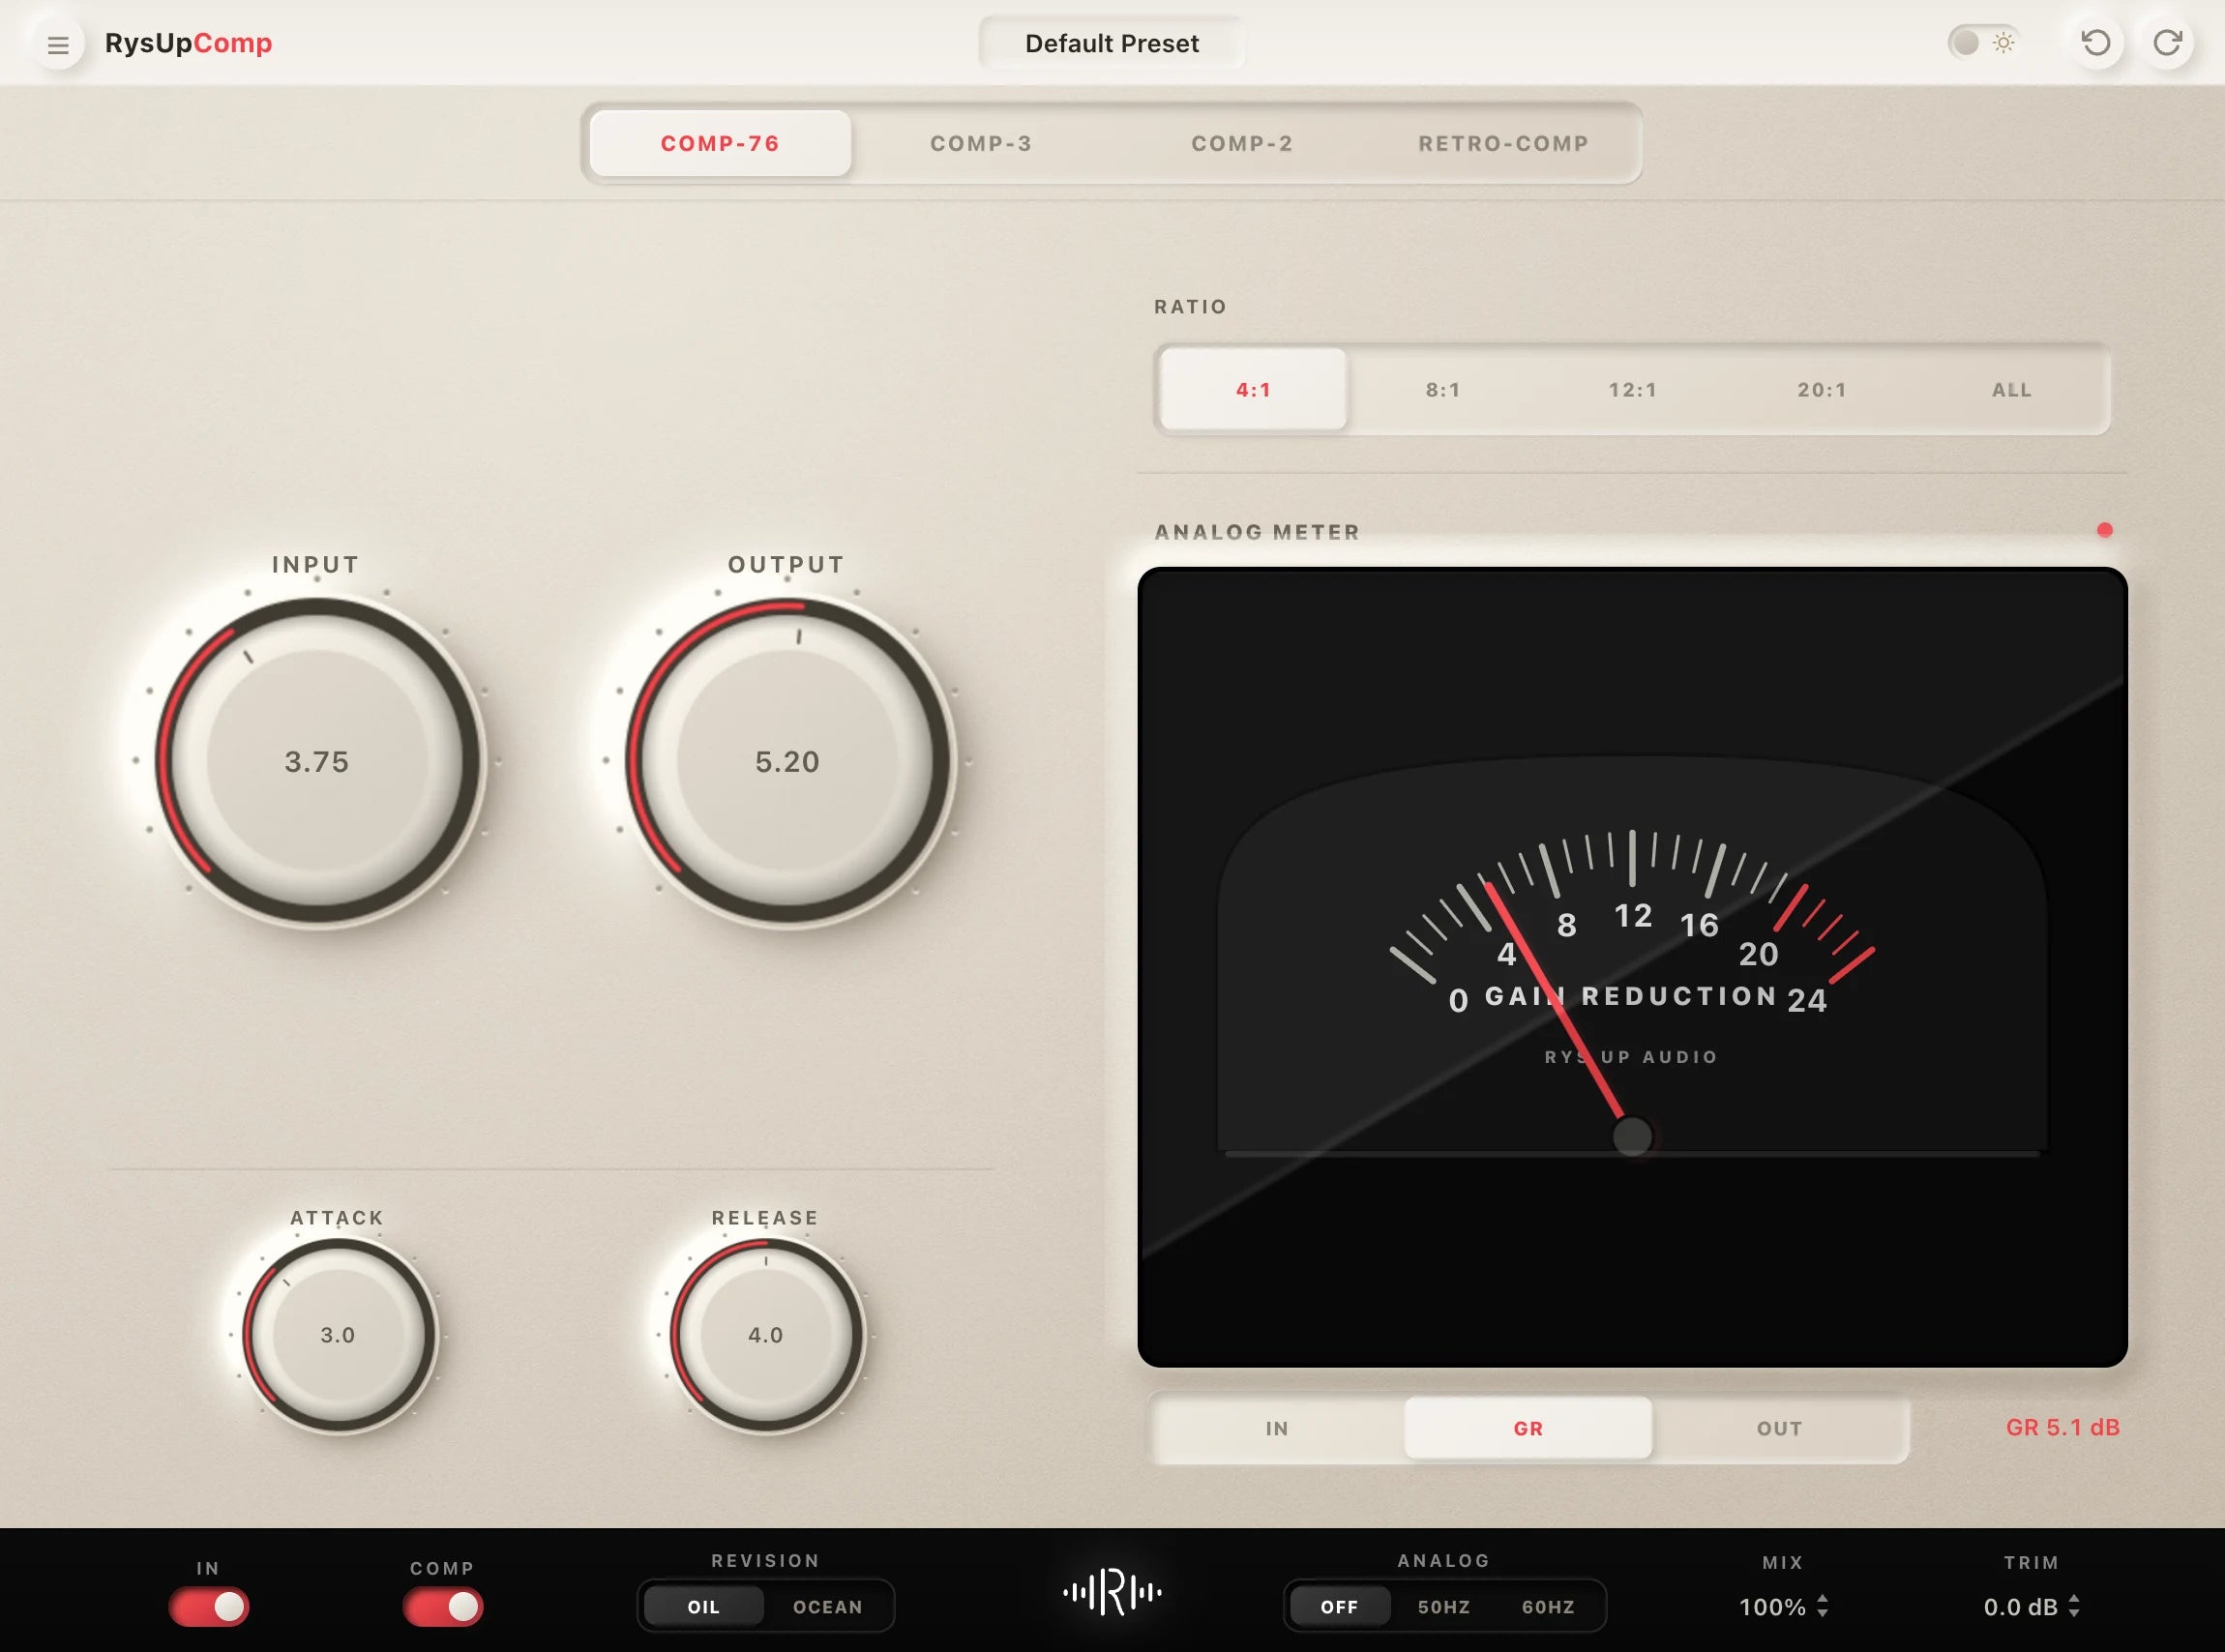
RysUpComp fits the dynamics stage after your take selection and level cleanup. Use it to shape the assembled performance, then compare at similar output loudness. It does not select takes or crossfade phrases. Your DAW owns that edit.
Use RysUpEQ when the completed vocal needs tonal adjustment. For the next dynamics decision, read our vocal compressor guide. If you need several mixing stages, compare the current RysUpSuite offer with individual products and browse the plugin lineup. Installation starts at the Hub.
Run the final listening pass
Play the complete verse and chorus without watching the cuts. First listen with the instrumental. Then solo the vocal briefly to catch clicks, duplicate breaths, abrupt room changes, and missing consonants. Return to the mix before deciding that an audible solo detail needs another edit.
Compare the comp with the original anchor take. The new version should keep its emotional direction while removing the problems you identified. If the anchor feels better, undo the unnecessary changes. Save the finished comp as a new version while retaining the raw takes.
A successful vocal comp sounds like one singer delivering one performance. When that happens, move on. Endless swapping can cost you the confidence that made the take worth keeping.
Sources and next steps
DAW workflow references checked September 8, 2026: Ableton Live comping manual, Logic Pro for Mac comping overview, and Yamaha vocal comping guidance. Listening recommendations are practical starting points, not a claim that we tested your recording or DAW session.
Start with one troublesome phrase today. Keep the rest of the anchor intact, choose the replacement, clean the joins, and listen against the beat. Once the lead works, our backing vocal workflow covers the separate job of fitting supporting performances around it.