
Best Trap Vocal Presets 2026 — Sound Like the Charts in Any DAW
Trap vocals have a sound that hits you in the chest before you even process the lyrics. That hyper-compressed, pitch-shifted, reverb-soaked thing that Travis Scott, Future, Young Thug, and Gunna do? That's not an accident. Different records reach that direction with different performances and chains. The steps here are an adaptable starting workflow, not verified settings from any named artist.
For a rap performance, follow this hip hop vocal mixing workflow to check recording level, dynamics, and ambience before deciding which extra processor you need.

Browse our full collection of vocal presets compatible with every major DAW.
The problem is most tutorials either go too surface-level or assume you already own $3,000 worth of plugins. This guide does neither. We're going to break down exactly what makes trap vocals sound like trap vocals, walk through the full chain step by step, and show you how our trap vocal presets get you there in one click.
Let's get into it.
What Makes Trap Vocals Sound Like Trap Vocals
Many trap vocal arrangements combine pitch effects, controlled dynamics and rhythmic space, but there is no mandatory chain for every record. The execution changes — Future's chain is darker and more washed out, Gunna's is cleaner and more up-front — so judge the vocal against the specific arrangement.
Heavy Pitch Correction
This is the obvious one. Trap vocals don't try to hide pitch correction — they lean into it hard. Retune speed at zero (or very close), with the key locked so every note snaps to pitch immediately. The robotic metallic quality is a feature, not a bug. Some tracks use an obvious correction effect; others keep more natural movement.
Triplet Delay
A dotted eighth and an eighth-note triplet are different timings. At 120 BPM they are about 375 ms and 167 ms respectively. Compare both against the beat rather than using the names interchangeably. On a dedicated delay return, start fully wet and use the send or return level to blend the effect.
Punchy, Fast Compression
Trap vocals use aggressive compression — not squashed like a pop vocal, but punchy. Fast attack (2-5ms), medium release, 4:1 to 8:1 ratio. You want the transients controlled but the vocal still feels dynamic and alive. Parallel compression on a send channel also works great here to keep energy without losing the performance.
Plate or Hall Reverb With Pre-Delay
Short to medium reverb with 20-40ms of pre-delay. The pre-delay keeps the vocal upfront while still sounding huge. Too much reverb without pre-delay pushes the vocal back in the mix — and trap vocals often sit prominently in the arrangement.
Saturation
A touch of tape saturation or tube saturation adds harmonic content that helps the vocal sit in the mix. It also adds that slight warmth and edge that makes vocals feel textured instead of thin. Most engineers run this subtly — you want it felt, not heard.
Presence-Boosted EQ
A broad lift around 3-6kHz and sometimes 10-12kHz gives trap vocals that forward, present quality. They cut through 808s and hi-hats without needing to be louder. Combined with a solid high-pass filter, it keeps the low end tight and the top end air clear.

The Trap Vocal Chain Breakdown
Here is one starting signal path. The best order depends on the recording and the processors, so compare changes instead of treating this as a verified recipe for every commercial preset or artist session. For a deeper breakdown with plugin settings, check out our guide on how to mix trap vocals.
Step 1: High-Pass Filter
Start with a steep HPF — 80Hz to 120Hz, 12-18dB/oct slope. Trap vocals need to coexist with heavy 808 sub bass. Any low-end rumble from the vocal competes directly with the kick and 808. Cut it clean so your low end is all bass, not muddy vocal buildup. If the cutoff makes the voice smaller, back it down. Remove unwanted rumble while keeping the useful vocal body.
Step 2: EQ (Surgical + Tonal)
Do your surgical cuts first — find any boxy resonances around 200-400Hz and notch them out. Then add your tonal boosts: a gentle shelf or broad peak around 3-5kHz for presence, and an air shelf at 12kHz or higher to open up the top end. Don't overdo it. Subtle cuts and intentional boosts, not a major overhaul.
Step 3: De-Esser
With that presence boost, sibilance becomes a real problem fast. A de-esser at 5-8kHz before your compressor keeps those "s" and "sh" sounds from distorting or triggering your compression inconsistently. Wideband de-essing works fine here — you don't need anything fancy. Our Rys Up Audio plugins include a clean de-esser that handles this right out of the box.
Step 4: Compressor
This is where the punch comes from. Fast attack (2-5ms), medium release (80-120ms), 4:1 to 6:1 ratio. Aim for 4-8dB of gain reduction on the loudest hits. Make up gain to compensate. If you want extra thickness, send 20-30% to a parallel compression bus and blend to taste. VCA and FET are different compressor designs. Choose the response and available timing controls that fit the vocal, then compare at matched loudness.
Step 5: Saturation
After compression, run a tape or tube saturation plugin at low drive — maybe 10-20% wet. You want it adding harmonic content, not clipping. Saturation is optional. Keep it only when the added harmonics improve the vocal; back off if consonants become rough or the tone loses definition.
Step 6: Pitch Correction
Give pitch correction a clear monophonic vocal to track. Try it before heavy saturation and time effects, then audition other placements only when they improve the result. Set retune speed to 0 (or as fast as possible), lock to the key of the song, and let it work. If you want full T-Pain mode, that's all you need. If you want a more melodic sound like Gunna or Polo G, bump the retune speed slightly to 5-15 — still fast but with a tiny bit of natural movement.
Step 7: Reverb
Use a plate or medium hall reverb on a send — not inserted directly on the vocal. Set pre-delay to 20-40ms, decay at 1.2-2.5 seconds, and start the dedicated return fully wet and use the send level to set the amount. Keep it subtle. If your reverb is too obvious, the vocal gets buried. For trap, the reverb should make the vocal feel big, not distant.
Step 8: Delay
Also on a send. A dotted 8th delay (or 1/8T triplet at slower tempos) synced to your project BPM. Feedback at 2-3 repeats, high-pass the delay return to keep it from cluttering the low-mids. Keep a dedicated delay return fully wet and blend it with the send or return level. Use a lower dry/wet value only when the delay is an insert. The delay is what gives trap vocals that rhythmic, three-dimensional quality — it's not background sauce, it's a core part of the sound.
Best Trap Vocal Presets From Rys Up Audio
For the softer emo trap side of this sound, compare the Lil Peep vocal preset as a separate starting point. Keep the dry take and adjust the pitch, compression, and effects to your own voice.
Building this chain from scratch every session is time you could spend actually making music. That's why we built our vocal preset collection — so you get a prepared chain you can load when its documented requirements are met, then tweak from there instead of starting from zero.
Travis Scott Vocal Preset
For a spacey Travis Scott inspired direction, experiment with audible correction, a dark wet return and rhythmic repeats. Our preset gives you a starting chain to adapt; it is not an authenticated copy of an Astroworld or Birds in the Trap Sing McKnight session.
Future Vocal Preset
For a rougher Future inspired direction, try controlled saturation and a darker effect return while keeping the words clear. Our Future preset is a starting point for that kind of production. The correct balance still depends on your performance and beat.
Young Thug / Gunna Style
Slime Season energy — more melodic, cleaner compression, the pitch correction working fast but leaving room for the runs and melisma to breathe. Gunna especially sits forward in the mix with a ton of presence. These presets work great for melodic rappers who aren't fully singing but definitely aren't just rapping either.
Lil Durk / Polo G Style
Chicago drill meets trap — slightly more restrained pitch correction, punchy compression, and cleaner delays than the Atlanta school. These presets are versatile: they work for drill, trap, and straight hip-hop depending on your production underneath. Great if you want a polished, professional vocal without going full sci-fi on the effects.
Browse our full artist vocal presets collection — we've got chains modeled after dozens of current artists, with the current price, DAW versions and required processors listed on each product page.
How to Set Up Trap Vocals in Your DAW
This is one starting signal path. Adapt it to the recording, the processor and the return routing in your software. Here's what you need to know for each major DAW.
FL Studio
In FL Studio, place the vocal on a Mixer insert and use an audio compressor such as Fruity Limiter in COMP mode or an installed RysUpComp instance. Fruity Peak Controller generates a control signal; it is not a conventional vocal compressor by itself. NewTone edits recorded audio, while Pitcher and RysUpTune serve real-time correction workflows. Check your license for the FL effects and use the pack’s instructions for its mixer-chain file.
Ableton Live
In Ableton Live, build the vocal chain with audio effects on the audio track. The Pitch MIDI effect transposes MIDI notes and cannot correct a recorded vocal. Auto Shift is an audio pitch-tracking and correction device in current Live versions that include it; an installed RysUpTune instance is another audio-effect route. Check your Live version and device availability. Use return tracks when you want separately controlled wet effects.
Logic Pro
Logic's Pitch Correction plugin (or Flex Pitch) handles pitch correction duties. For an obvious correction effect, choose the key and scale and audition a faster Response setting in Pitch Correction. Response is the control name; compare the result on your performance. Run your compression through Logic's stock Compressor on the Vintage VCA setting — it's punchy and fast, exactly what trap needs. Use Send busses for reverb and delay. Logic's Space Designer (plate or medium hall preset) is genuinely great for trap reverb. ChromaVerb also works well if you prefer it.
Pro Tools, Studio One, Cubase, Reaper
The chain logic is the same across all DAWs — HPF, EQ, de-esser, compressor, saturation, pitch correction, then send-based reverb and delay. The specific plugins differ, but our presets include settings guides for each DAW. Check our step-by-step installation guide if you run into any setup questions.
Recording Tips for Trap Vocals That Actually Help
Even the best preset chain can't fix a bad recording. These habits make a real difference.
Gain Staging Before You Record
Get your input level hitting -18dBFS to -12dBFS average, with peaks no higher than -6dBFS. This leaves headroom for your compressor to work without clipping, and keeps the noise floor manageable. Too hot going in means distorted recordings. Too quiet means boosting noise when you add gain later.
Mic Distance and Room Treatment
6-12 inches from the mic. Closer than that and you get excessive proximity effect (boomy low end). Further and you pick up too much room. If your room is untreated, test a quiet position away from reflective boundaries and use suitable absorption around the recording area. Listen to a short dry take before choosing the spot. Room sound on a trap vocal is a mix-ruiner. Added reverb is easy to control later. Reducing recorded room sound may involve compromises, so improve the capture when possible.
Performance: Do Multiple Takes
Don't try to comp one perfect take. Do 3-5 full takes, then comp the best sections. Trap vocal energy is crucial — a technically perfect but flat performance won't hit the way a slightly imperfect but energetic one does. Make sure whoever's recording is feeling the track, not just executing it.
Punch In, Don't Loop Constantly
Comping and punch-ins keep energy high. Looping the same 8 bars 20 times until it's "perfect" kills the vibe. Get the emotional performance first, edit any necessary timing or pitch details afterward.
Record Dry, Effect Later
No reason to print reverb or delay into your recording. Record the cleanest possible dry vocal and apply all effects in the mix. If your vocalist needs to hear effects for performance (many artists do), run them as headphone cue effects only — not printed to the recording track. This gives you full control in the mix.
Pair Your Vocals With RysUp Plugins
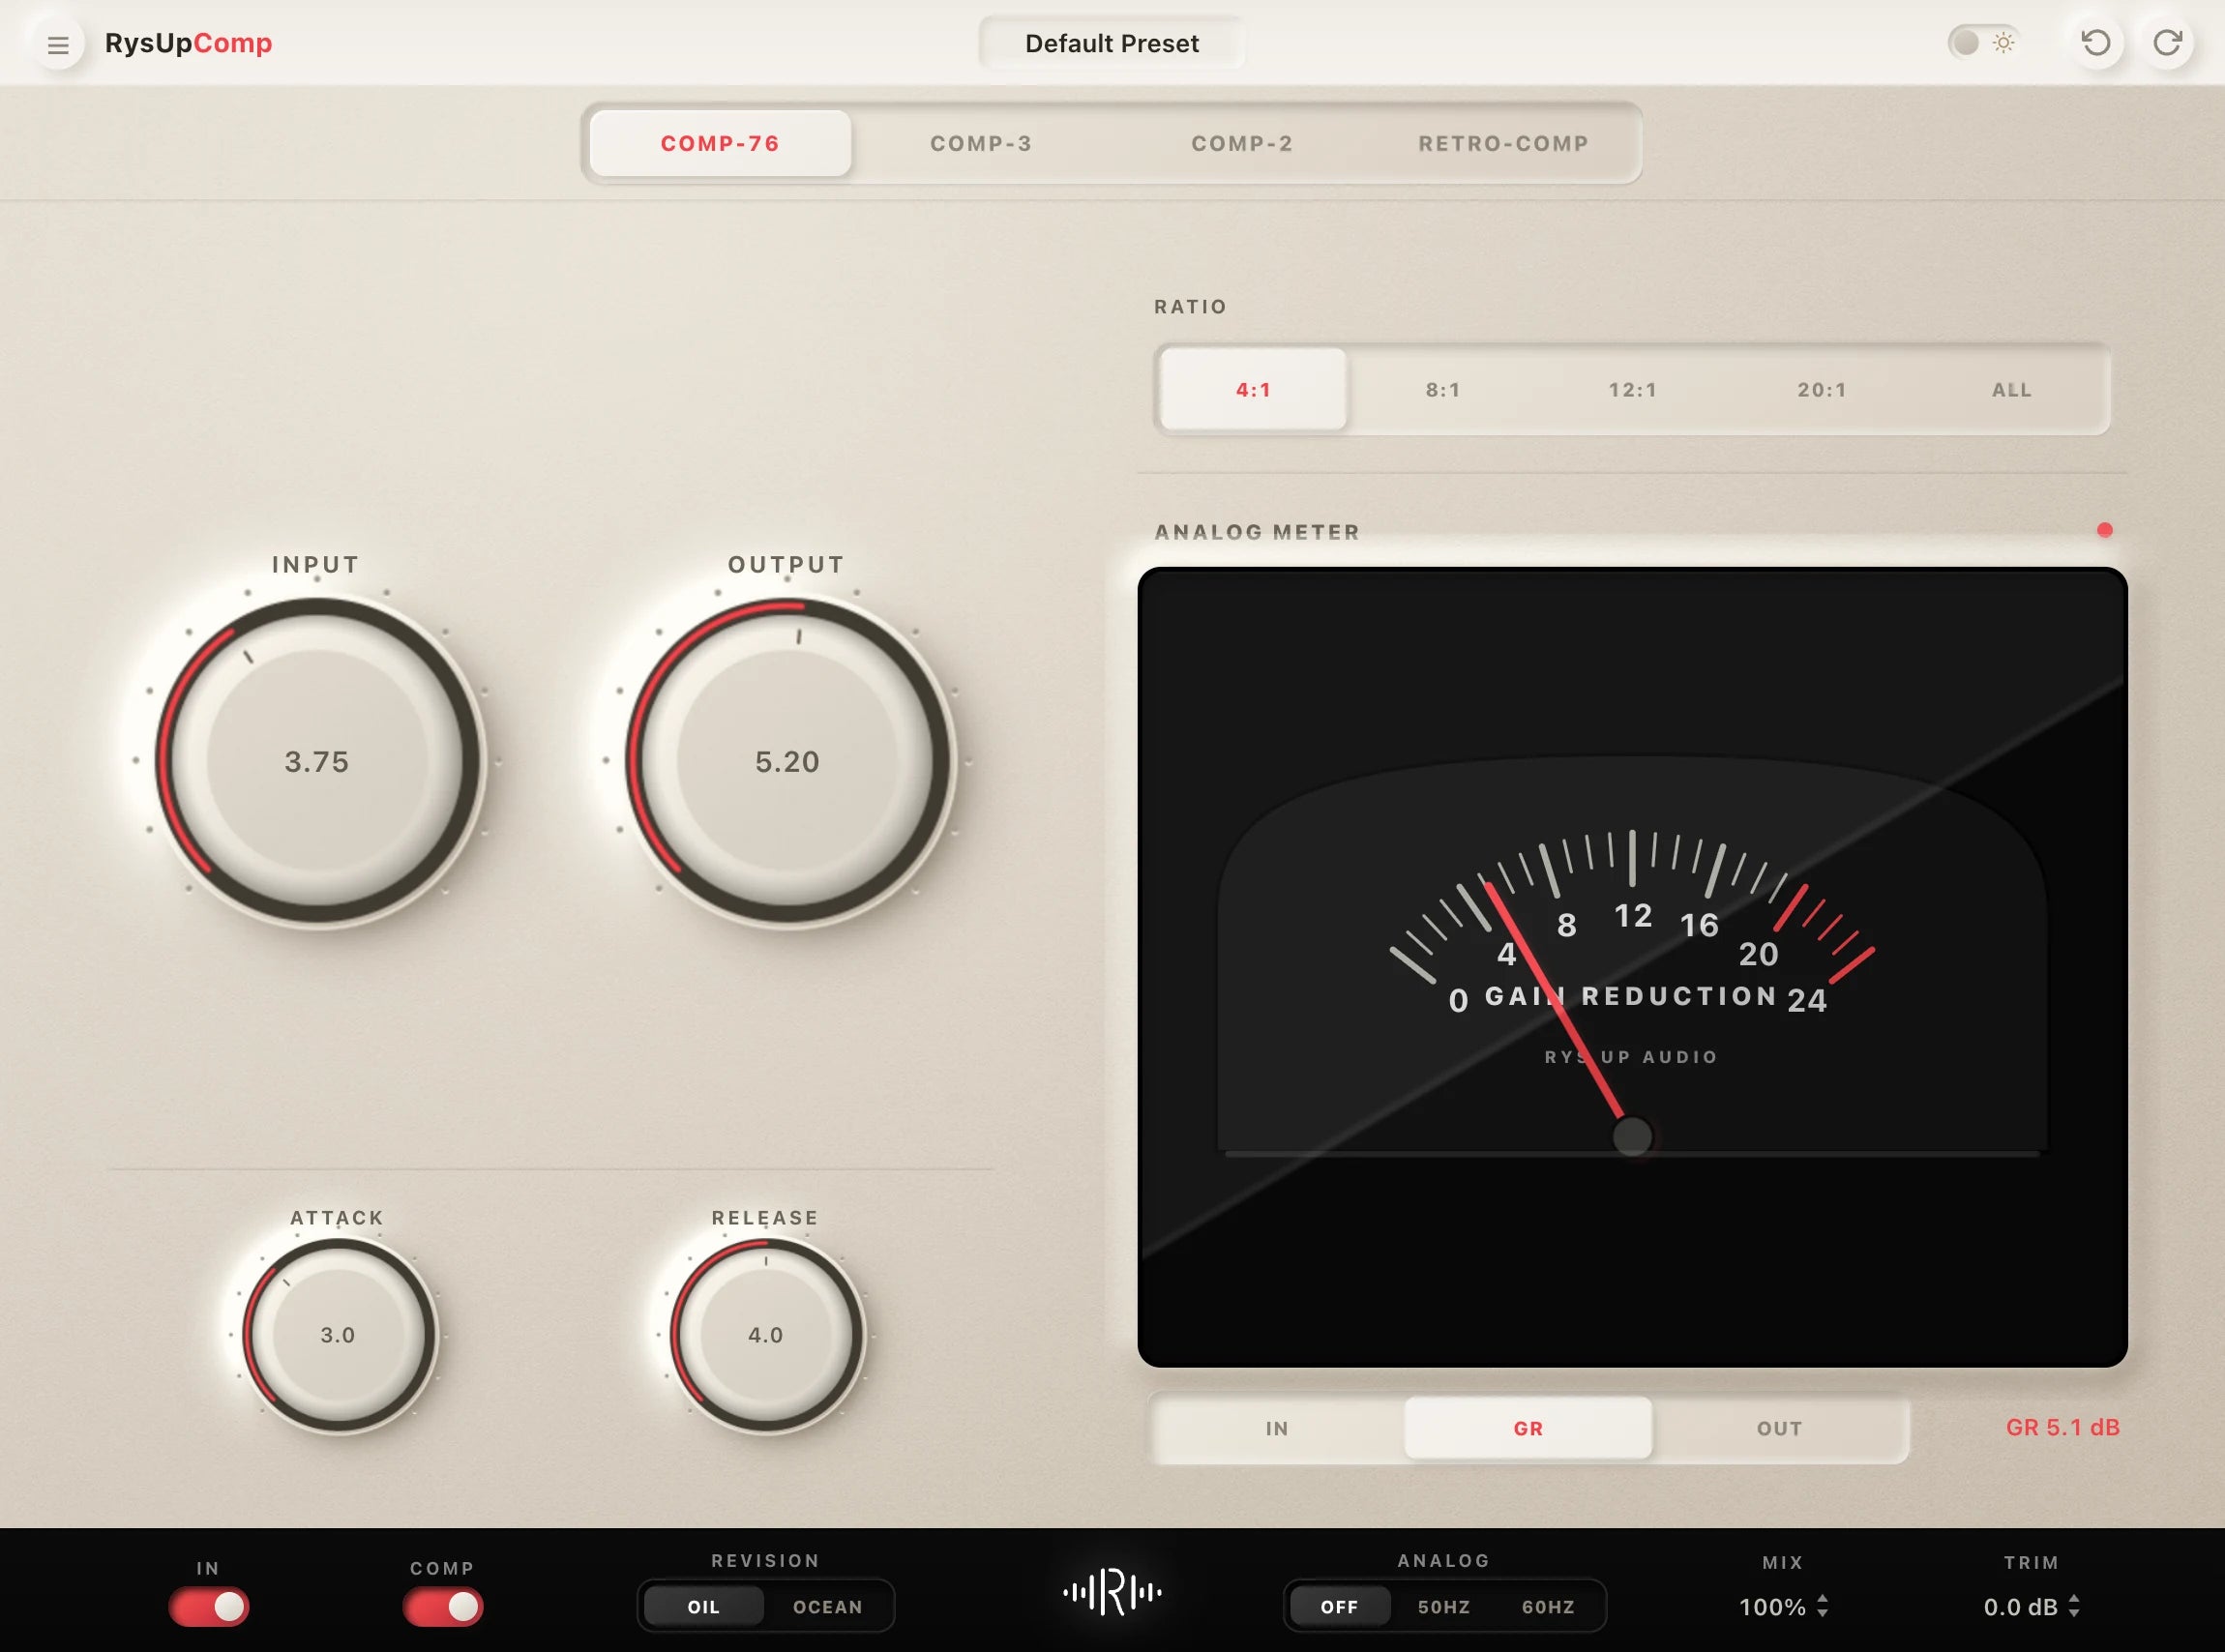
If you want to upgrade your vocal chain, every plugin in the RysUp collection is built specifically for vocal production — modern codebase, weekly updates, no iLok, and a fraction of the cost of legacy software.

Frequently Asked Questions
What are trap vocal presets?
Trap vocal presets are pre-built signal chains that include all the effects, compression settings, EQ curves, and plugin configurations used to create professional trap vocal sounds. Instead of building a chain from scratch, you load the preset onto your vocal track and it applies the full chain instantly — pitch correction settings, compression, EQ, reverb, delay, all of it. You can then tweak any parameter to fit your specific track.
What DAWs do your trap vocal presets work with?
Our trap vocal presets are compatible with FL Studio, Ableton Live, Logic Pro, Pro Tools, Studio One, Cubase, Reaper, and GarageBand. Each preset comes in the native format for each DAW, so you're not trying to translate settings across platforms. Check the product listing for the full compatibility list before purchasing.
Do I need pitch correction for trap vocals?
Use fast pitch correction when you want an obvious snapped-note effect. It is a creative choice, not a requirement for every trap vocal. RysUpTune can provide a real-time correction workflow; set the song’s key and scale, then choose the speed by the sound you want.
What's the difference between trap and hip-hop vocal presets?
Hip-hop vocal presets generally prioritize clarity, presence, and a natural vocal sound — think Drake, Kendrick Lamar, or J. Cole. The chain usually features moderate compression, subtle reverb, and little to no pitch correction. Trap presets go harder on everything: faster and more obvious pitch correction, more aggressive delays, bigger reverb, more saturation. The aesthetic is intentionally processed and larger-than-life. Both have their place, and many artists blend both approaches depending on the song.
How do I get that Travis Scott vocal sound?
For a Travis Scott inspired effect, audition faster pitch correction, a spacious dark return and tempo-synced repeats. Those are creative starting choices, not a universal recipe for his records. Our Travis Scott vocal preset is an artist-inspired starting chain. Choose the matching DAW version, check its requirements and adjust it to your own recording.
Get Your Trap Vocal Presets Now
You've got the knowledge. Now you need the tools. Our trap vocal presets give you a repeatable starting point for the style you want to explore. Check each preset’s current price, DAW version and processor requirements before purchase. Follow the included installation guide, then compare the loaded chain with the dry recording.
Want to start free? Grab something from our free collection first and see how the presets feel in your workflow. When you're ready to go deeper, the full trap collection is right there.
Stop spending your session time troubleshooting signal chains. Grab your trap vocal presets and start making records.
Check the dry lead, return and delay timing separately
Loop a phrase that leaves a gap before the next line. First mute the wet returns and balance the lead. Then bring in one return at a time. If muting the return changes the dry vocal level unexpectedly, check whether the return effect is passing an extra dry signal.
At 120 BPM: 375 ms. Three quarters of a quarter-note beat.
At 120 BPM: about 167 ms. One third of a quarter-note beat.
Keep the rhythm that supports the phrase, and automate the send when only one word needs the repeat. Compare the Hip Hop and Rap vocal presets for starting chains, then make these level and timing decisions inside the actual song.
Workflow sources checked September 11, 2026: Image-Line’s Peak Controller, Fruity Limiter and NewTone documentation; Ableton’s Pitch MIDI effect and audio-effect reference; and Apple’s Pitch Correction parameters.