
When your lead, doubles, harmonies, and ad libs sound like separate people sharing one song, a vocal bus gives you one shared place to make them sit together. Route the tracks you want to move as a group to one bus, fix track-specific problems before they reach it, and use the bus for small moves that help the whole vocal picture lock in.
Fast answer: send the vocal tracks that belong together to a vocal group or bus, balance them first, then use gentle shared EQ or compression. Keep reverb and delay on separate returns when you want their level or tail to move independently. A vocal bus is not the same thing as the master channel, and it does not replace editing or track-by-track cleanup.
Disclosure: Rys Up Audio makes RysUpComp. The routing advice below is useful with stock processors or other tools too. Product details were checked on October 1, 2026.
A clean vocal-bus route
Lead, doubles, harmonies, ad libs
Edits, cleanup, pitch, problem sibilance
Shared tone and light glue
Independent space, then main output
Keep the source tracks available. The group is a shared processing path, not a reason to flatten the session early.
What a vocal bus actually does
A bus combines selected tracks so they pass through a shared channel. Put the lead, doubles, and harmonies there when you want one fader and a small amount of common processing to shape the group. The separate tracks still matter: each can keep its own edits, pan, level, and corrective work before the signals meet.
In Ableton Live 12, Group Tracks are summing containers with mixer controls that can host audio effects. When you add tracks to a group, their output is assigned to that group unless a track already has custom routing. Other DAWs use names such as group, bus, aux, or subgroup. The labels differ; the signal-flow question is the same: which tracks should reach this shared processor?
Build the route before choosing the plugins
Start with the session routing, not a compressor preset. Create a group or bus, route the selected vocal tracks to it, and confirm the bus reaches the main mix. Play the loudest chorus. If the group meter does not move, or the main output does not receive the bus, fix that route before loading processors.
- Name the destination clearly, such as Lead Vocal Bus or All Vocals.
- Route only the tracks that should share the same processing and fader move.
- Keep special effects, parallel tracks, and any intentionally separate vocal group on their own route.
- Listen to the bus and the full mix. A soloed bus cannot tell you whether the vocals fit the instrumental.
In Live, the official manual describes Group Tracks as submixes and explains that audio effects can sit on tracks and return tracks. Use the exact routing controls documented for your DAW. Do not assume a group has captured a track that still routes somewhere else.
Choose which tracks belong together
Put the lead and its doubles on one bus when they need to move as a single performance. Keep a separate harmony bus when the stack needs a different fader, width, or tone. Ad libs can join the main vocal group for shared glue, or stay separate when their effect level and automation need to jump around without pulling down the lead.
A good test is to lower the bus by 1 dB during the chorus. If all intended vocal layers move together and the rest of the mix stays put, the basic routing is doing its job. If the beat moves too, or one harmony stays behind, inspect the output and send assignments.
Fix each track before the shared bus
A vocal bus cannot know which take has a click, which word has a plosive, or which double has a sharp consonant. Edit those at the track or clip level first. Correct the individual pitch, tame noise that changes from take to take, and deal with the one sibilant line that needs more attention than the others. Then the bus receives a more consistent group.
Keep individual inserts focused. If every track has heavy compression and the bus also has heavy compression, the stack can lose the small level differences that make the performance feel alive. Use the bus after source-specific repair, not as a rescue tool for a problem that belongs to one track.
Balance the group before compressing it
Set the vocal tracks against the instrumental first. A bus compressor reacts to the combined signal, so an ad lib that is much louder than the lead can trigger gain reduction across the whole group. Lower or automate that track before adding more compression. This keeps the compressor responding to the vocal balance you actually want.
Check the bus input and output meters while the loudest section plays. Leave headroom and avoid clipping the bus. If the compressor is working too hard, reduce the level feeding it or revisit the tracks. Do not chase a target number when the sound is already controlled and clear.
Use shared compression as a small move
On a vocal bus, compression can make several layers feel more connected. It should not erase every peak or pin the group in place. Start with a moderate ratio, slower attack, and a release that returns naturally between phrases. Bring the threshold down until the loudest combined moments produce only a little gain reduction, then level-match the output before deciding whether it helped.
For a first pass, aim for about 1 to 2 dB of gain reduction on the loudest words. If the lead loses consonants, the harmonies duck too far, or the chorus stops lifting, back off. More gain reduction is not automatically more glue. The vocal bus is a shared control point, so a subtle move can affect every layer at once.
Shape shared tone with restraint
Shared EQ can help a stack sit together, but it also changes every track at the same time. Make individual corrections before the bus. On the group, use small broad moves and compare them in the full mix. A boost that makes the soloed bus sound exciting may push the complete vocal stack into the same crowded frequency range as the instrumental.
De-essing is usually more predictable on individual tracks when one voice or take has the problem. A bus-level de-esser can help when several layers create one combined burst of sibilance. Listen for the consonants that trigger it, then check that it is not dulling the whole stack on every phrase.
Put reverb and delay on returns when you need control
A return lets multiple vocal tracks feed one shared effect while each source keeps its own send amount. That is useful when you want the lead mostly dry, the doubles wider, and the ad libs wetter without putting a different reverb plugin on every track. Keep the return's output routed into the mix, and check whether your DAW's group or stem bounce includes that return path.
Returns are not mandatory. An insert effect is simpler when only one track needs it. Use the route that makes the mix easy to balance and recall. Ableton's manual explains return tracks as shared effect paths and documents how group routing affects a group bounce, including cases where a return may not be included if its output does not reach the main track.
Separate a vocal bus from the master channel
The vocal bus handles the selected vocal tracks. The master channel receives the full mix. Keep those jobs separate while mixing: bus processing can shape the vocal group without changing the drums or instrumental, while master processing acts on everything routed to the final output.
If the vocal bus sounds balanced alone but disappears in the song, the next move may be level, automation, arrangement, or masking control. Do not solve every mix problem with more master compression. For the broader track-by-track processor order, use the vocal chain order guide.
Print stems without losing the routing
Before you print a vocal stem, solo or export the intended group and check the complete path. Include the vocal-bus inserts and any effect returns that belong in that stem. Make sure the export begins and ends in the right place, and listen to the rendered file outside the session. A stem that misses a return or a track routed around the group will not match what you heard in the full mix.
Ableton Live 12 can bounce a Group Track in place or to a new track, and its manual notes that group bounces happen post-mixer. The result depends on routing: tracks sent outside the group are excluded, and a return is included only when its final output reaches the Main track. Other DAWs have their own export options, so check the bounce path rather than relying on the group name.
Run this quick vocal-bus check
- Play the loudest chorus and confirm each intended track reaches the bus.
- Confirm the bus reaches the mix output and no track is accidentally doubled through a second route.
- Bypass the bus processing. The routing should still sound like the same performance, only less shaped.
- Level-match the processed and bypassed versions. Louder is not proof that the bus is better.
- Check lead clarity, harmony balance, consonants, and the ending of the longest reverb or delay tail.
- Print a short test stem and compare it with the session playback.
If the bus feels muddy, check which tracks are too loud, whether low-frequency room sound is reaching the group, and whether several shared processors are making the same move. If it feels flat, reduce bus compression and restore the track automation that gives the performance shape.
Where RysUpComp fits
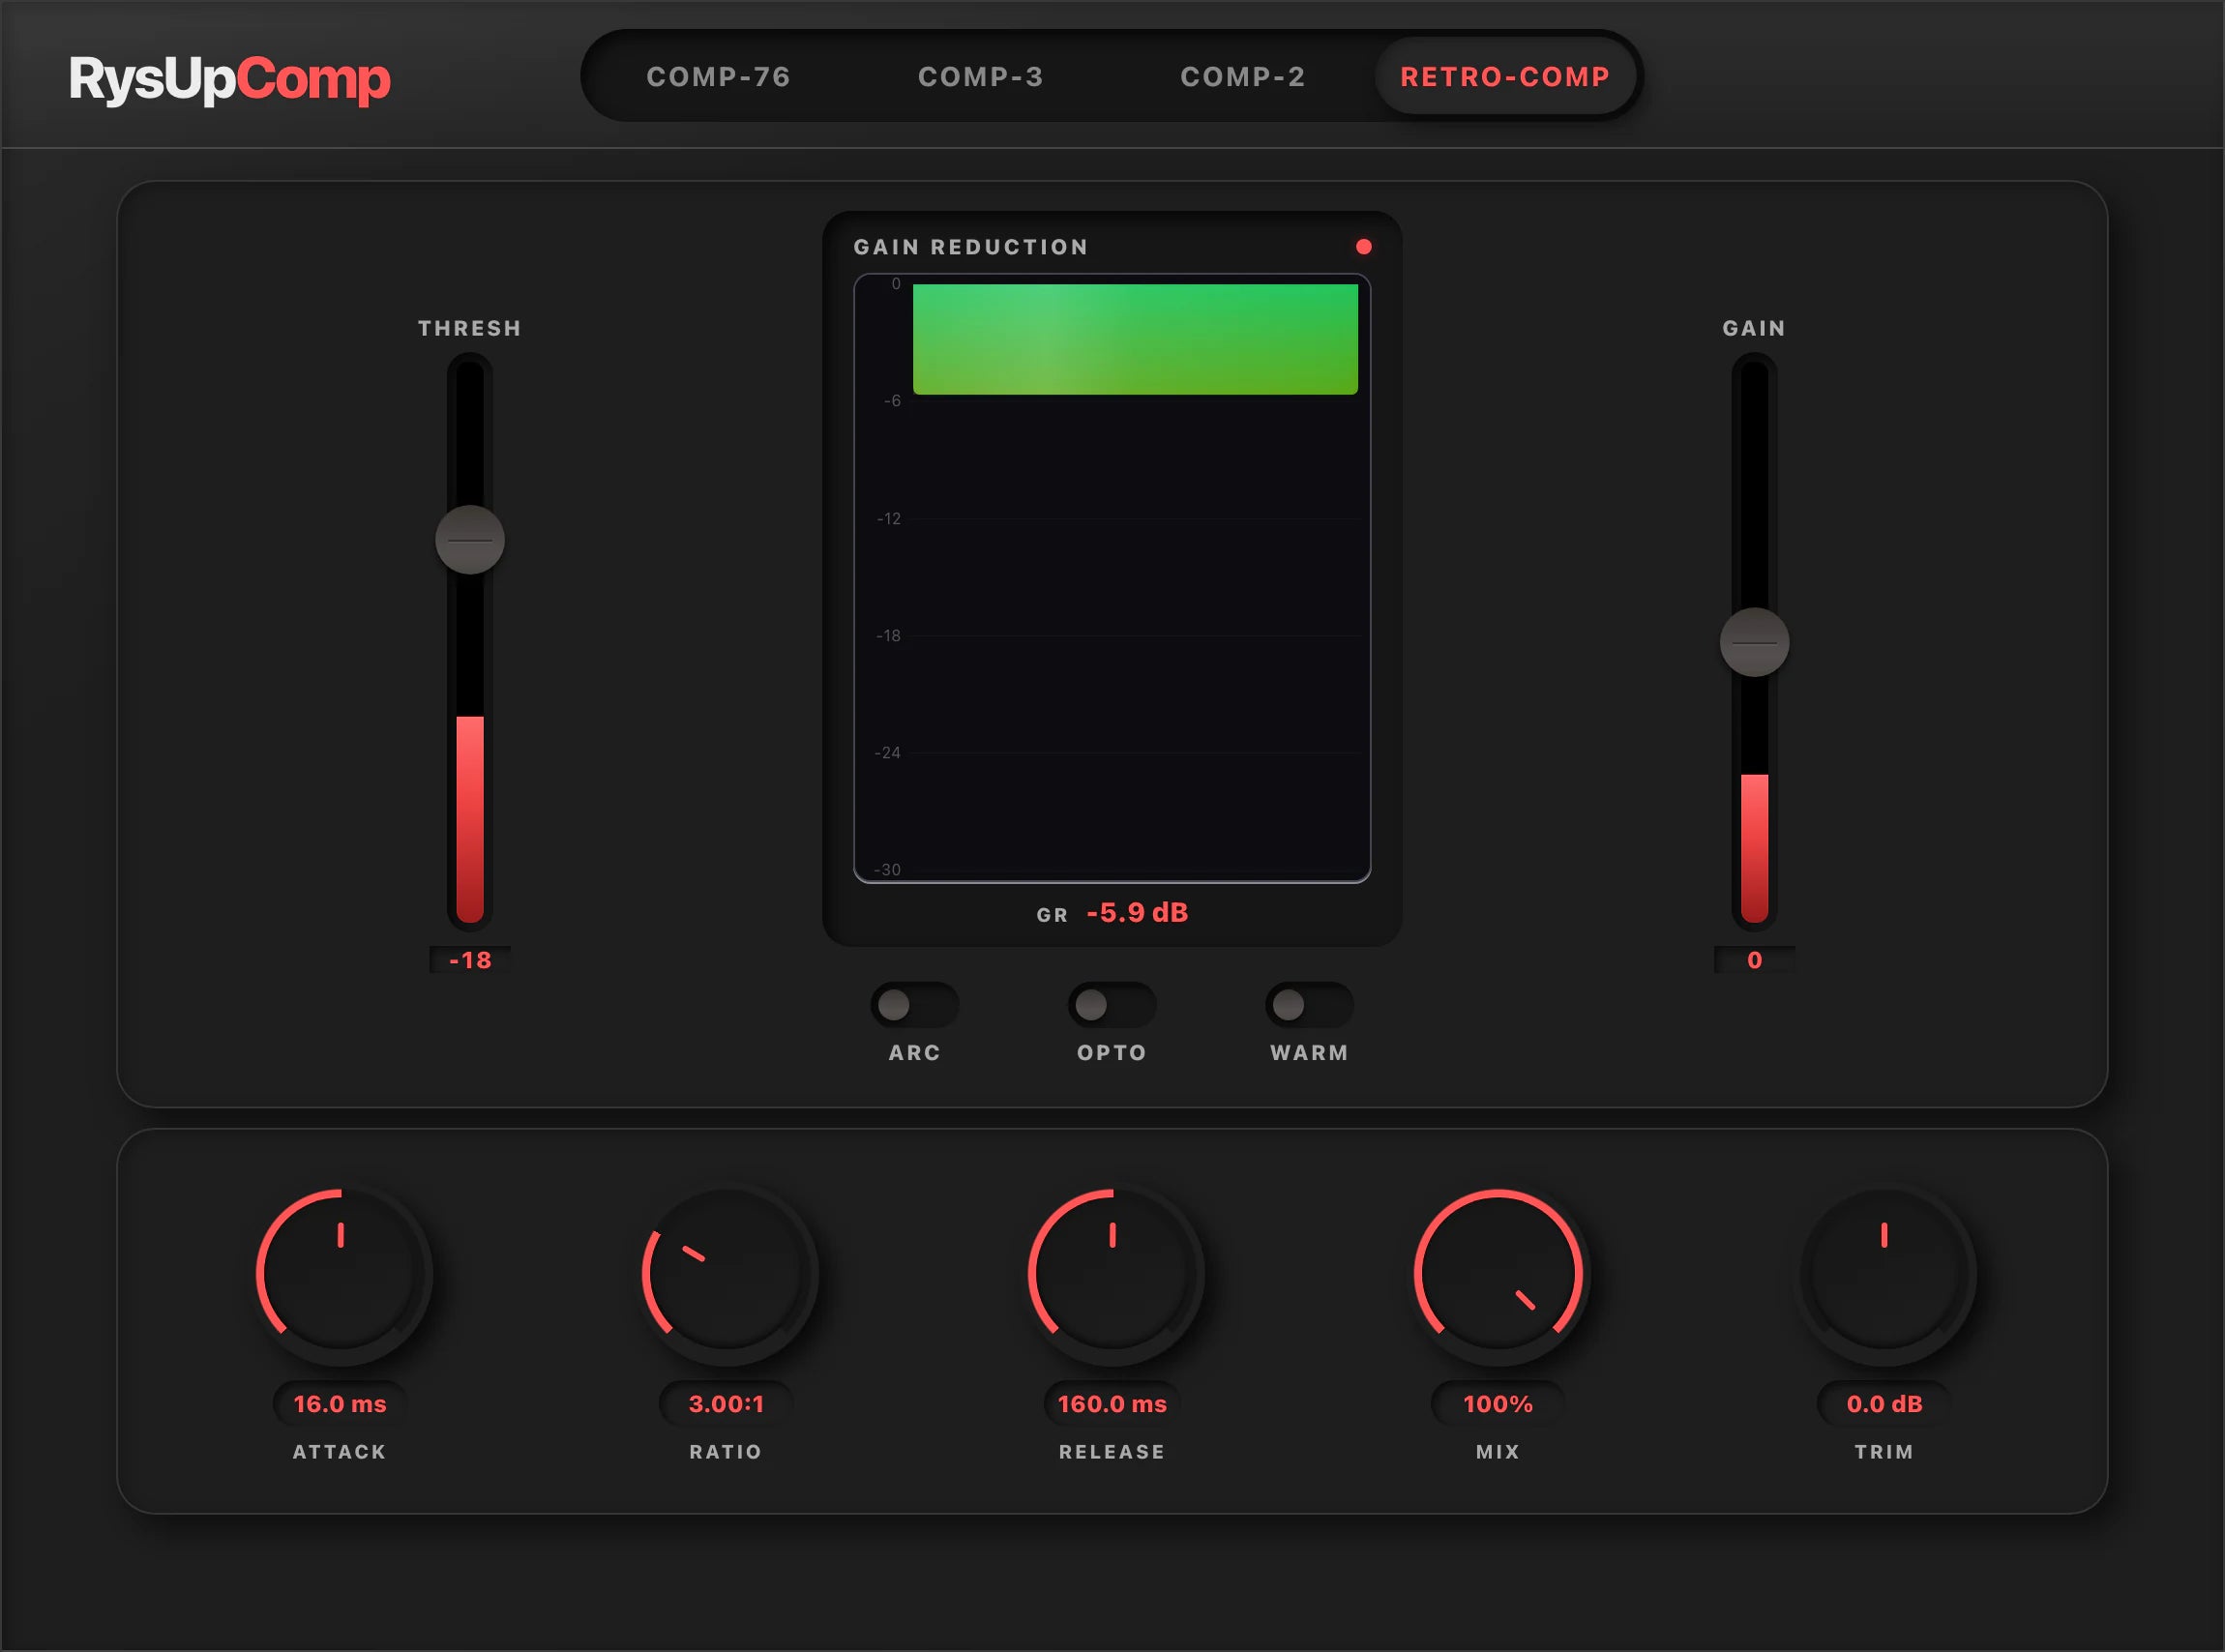
When the routing is working and you want one shared compressor stage, RysUpComp puts four compressor workflows in one plugin: fast FET punch, firm solid-state optical control, slower tube-optical leveling, and a flexible modern compressor. Its live product page recommends Retro-Comp on a mix bus with a slower attack, moderate ratio, and 1 to 2 dB of gain reduction. Treat that as a starting point for a vocal group, then adjust by ear against the instrumental.
RysUpComp is $49.99 to own outright. The RysUpSuite starts at $9.99 per month on annual billing and includes the current paid plugins. Browse the full plugin lineup, or get the installer from the RysUpHub page. For a broader arrangement job, see how to mix backing vocals around the lead.
Sources and current product details
- Ableton Live 12 Reference Manual: Group Tracks, checked October 1, 2026.
- Ableton Live 12 Reference Manual: Routing and I/O, checked October 1, 2026.
- Ableton Live 12 Reference Manual: Bouncing Group Tracks, checked October 1, 2026.
- RysUpComp official product page, including current price, Suite path, compressor modes, and mix-bus starting guidance, checked October 1, 2026.
Want the vocals to move together without flattening the performance? Build the route first, balance the tracks, and let the bus make only the shared move the song needs.