
Make a telephone vocal effect with a narrow band-pass EQ first, then add a small amount of distortion, compression, or room only if the scene needs it. The sound comes from removing the lows and highs, not from crushing the whole vocal.
For a different kind of movement, compare chorus and flanger before you add a sweep to the entire lead.
A real phone line does not carry the full recording. That is why the voice feels small, focused, and midrange heavy. Recreate that bandwidth, level match the result, and automate it into one section instead of leaving the entire song trapped inside the effect.
Rys Up Audio makes RysUpEQ and RysUpDistortion. The method below works with stock EQ and saturation tools in any DAW.
The fast answer
- Duplicate the lead or put the effect on a bus.
- High pass until the chest and proximity weight disappear.
- Low pass until the air and polish disappear.
- Add a small focused midrange push if the voice needs more bite.
- Add restrained distortion for speaker grit.
- Match the output level and automate the effect into the chosen line.
Start with band-pass EQ
A band-pass filter keeps a middle range and removes frequencies above and below it. Adobe's current Audition documentation names a narrow band-pass filter as a direct way to simulate a telephone call. Audacity describes the same building blocks through high-pass, low-pass, and Filter Curve EQ tools.
Start wider than you think. Raise the high-pass filter until the vocal loses its full body. Lower the low-pass filter until the top end feels limited. Then move both cutoffs slowly while the full track plays. The effect should sound intentional without turning every consonant into noise.

Choose the bandwidth by the scene
| Effect | EQ direction | Character | Use |
|---|---|---|---|
| Clean phone call | Narrow lows and highs, moderate slopes | Small and intelligible | Dialog, intro, verse transition |
| Old radio | Narrower top, gentle mid push | Dark and focused | Sampled or vintage section |
| Megaphone | Narrow band plus stronger upper mid focus | Aggressive and projecting | Shouts, ad libs, live-style moment |
| Broken speaker | Band-pass plus heavier distortion | Rough and unstable | Short effect line, not a clean lead |
These are directions rather than universal frequency numbers. The singer, microphone, and arrangement decide the useful range. A deep voice may need more low mid content to keep the words understandable. A bright voice may need less upper mid push.
Add midrange focus only when needed
After the cuts, sweep a bell through the middle. If one range makes the words feel more immediate without becoming painful, add a small boost. Stop when the voice feels like it moved closer to a small speaker.
Do not confuse harshness with authenticity. The effect can be narrow and still smooth. A huge boost may sound exciting in solo and impossible inside the beat.
Add distortion carefully
Distortion adds harmonics and speaker-like edge. Put it after the EQ when you want the limited band to drive the processor. Put it before the EQ when you want the filter to remove the brightest distortion products afterward.
Compare both orders at the same level. Keep the cleaner order when the lyric matters. Use the rougher order for a short ad lib, transition, or sound-design moment.
Compress the effect, not the emotion
A telephone vocal often sits at a stable level, but heavy compression is not mandatory. Use clip gain to control one loud word. Then apply enough compression to keep the filtered voice present without turning breaths and noise into the loudest part.
Fast attack can flatten consonants. Slow release can pull down the next word. Listen to the transition into and out of the effect, not only the processed phrase.
Use a bus or duplicate for control
A parallel bus lets the full vocal and telephone layer exist together. Keep the dry lead underneath for clarity, then automate the filtered layer up on selected words. A duplicate track gives you independent edits and can be easier for a full section.
Label the track clearly. Route its reverb and delay separately. The telephone layer already has less bandwidth, so a full bright reverb can undo the effect.
Automate the transition
The effect gets stronger when it arrives and leaves with purpose. Switch it on for the last word before the hook. Narrow the band during a phone-answer intro. Open the filters into the full lead when the beat drops.
Avoid clicks at the switch. Automate the bus level, use a short crossfade, or move the filters smoothly. The listener should hear a deliberate transition rather than a broken edit.
Compare two processing orders
EQ before distortion keeps the distortion focused inside the telephone band. The removed lows and highs never drive the distortion stage, so the result is easier to control. This is the safer starting order for a lead line that still needs clear words.
Distortion before EQ creates a wider set of harmonics, then the filters carve that result into the narrow band. It can feel rougher and more speaker-like. It can also create sharp edges that require a gentler drive setting.
Try both at the same output level. Keep the order that supports the scene. Do not choose the more distorted version simply because it is louder.
Build three useful variants
Save each variant as a preset only after it works in the song. The useful difference is the arrangement role, not a random name attached to the same EQ curve.
Check mono and level
Telephone effects usually belong near the center. Check the result in mono, especially when distortion or modulation was added. Then level match the processed phrase against the surrounding lead.
A narrow vocal can feel quieter even when the meter is similar because the lows and air are gone. Raise it only enough to keep the lyric clear. Do not let the effect jump forward just because it sounds different.
Where Rys Up fits

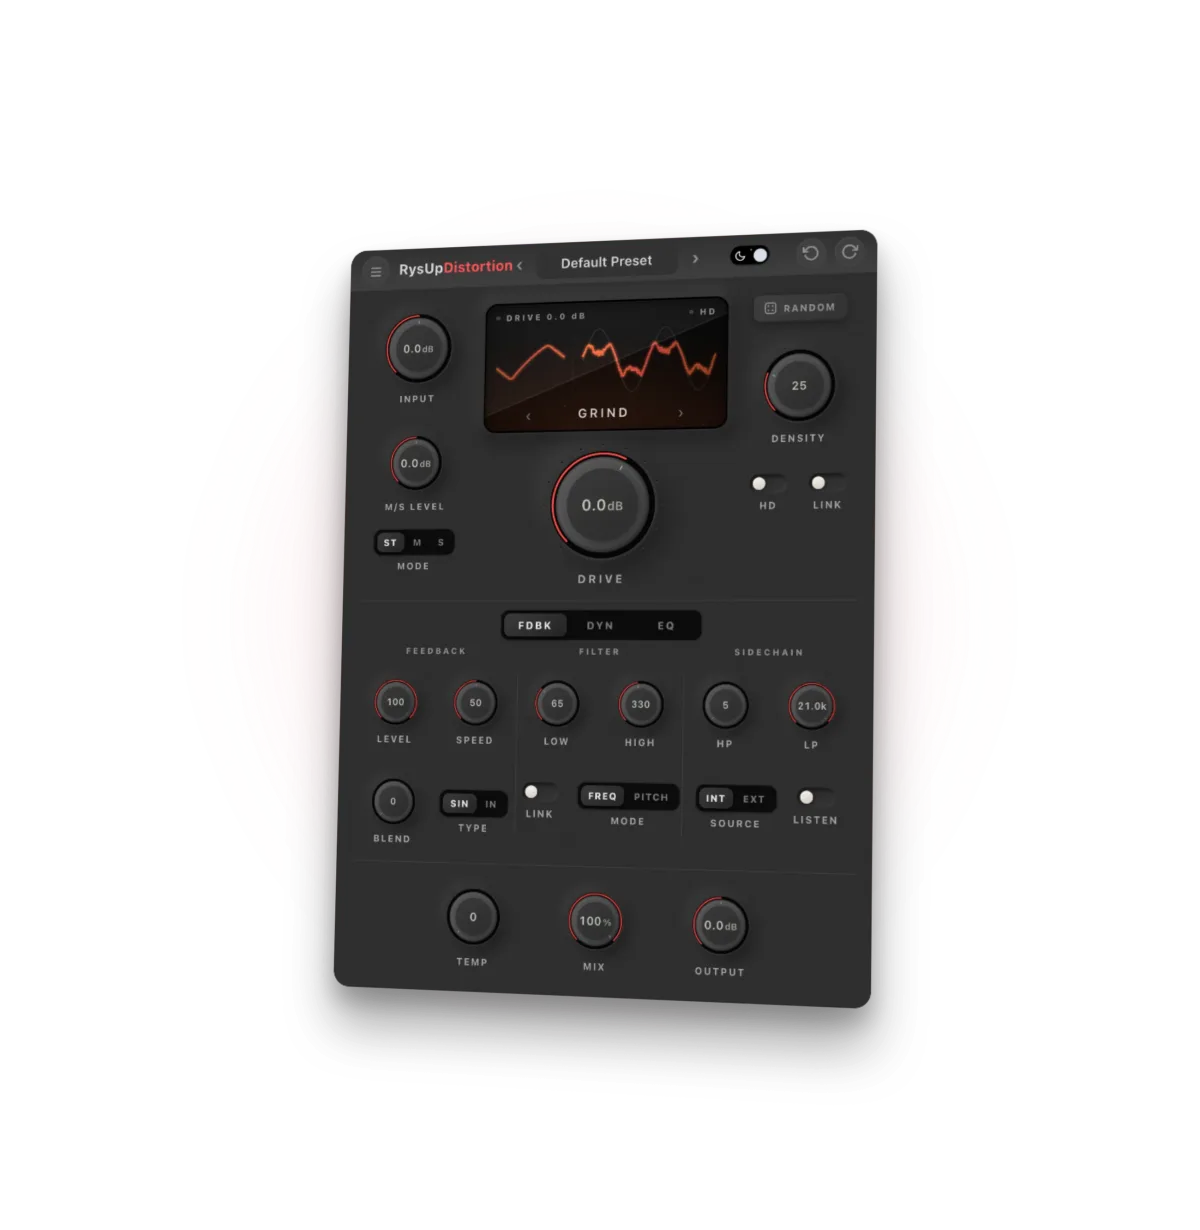
RysUpEQ 2.5.8 provides surgical EQ, dynamic control, and spectral cleanup. RysUpDistortion 1.0.23 adds drive, feedback, and saturation for vocal character. Check the current product page and RysUpHub catalog for host and format availability before installation.
Use the EQ first. Add distortion only when the arrangement needs grit. Both are included in RysUpSuite for active subscribers.
Common mistakes
- Cutting so narrowly that the words disappear.
- Boosting upper mids until every consonant hurts.
- Adding distortion before the EQ is intelligible.
- Leaving the effect on the entire song with no arrangement reason.
- Using stereo widening that collapses in mono.
- Comparing a louder effect against a quieter dry vocal.
- Sending a bright full-range reverb after the band-pass.
The final rule
The telephone sound begins with bandwidth. Remove the lows and highs, preserve enough middle for the lyric, then add only the amount of grit and compression the scene needs. Automate the moment and get out before the trick becomes the whole song.
Primary sources checked September 21, 2026: Adobe Audition filter and EQ guide, Audacity EQ and filters manual, current RysUpEQ and RysUpDistortion product pages, and the current Rys Up Hub catalog.